Comparing Photoshop’s Lens Blur Filter to a Real Tilt-Shift Lens
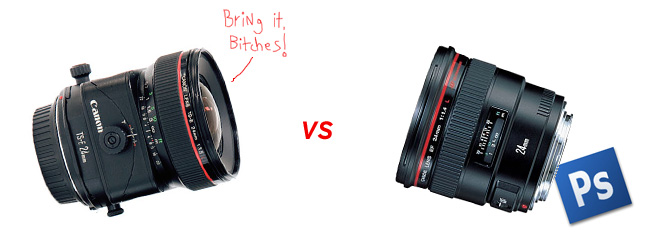
By now, many of us are aware that you can replicate the characteristics of a tilt-shift lens with Photoshop. But I’ve always been curious about just how closely Photoshop can recreate the complex bokeh (image blur) that results from a real tilt-shift lens. So with this burning question in my head, I rented a tilt-shift lens and went to work…
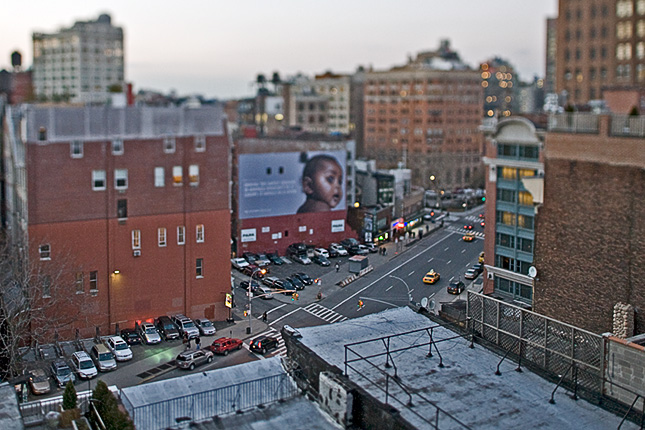
Here’s where I started. Using the Canon TS-E 24mm 3.5L at full tilt (maximum blurriness), I took the shot below.
Tilt-Shift Lens (Click to Enlarge):
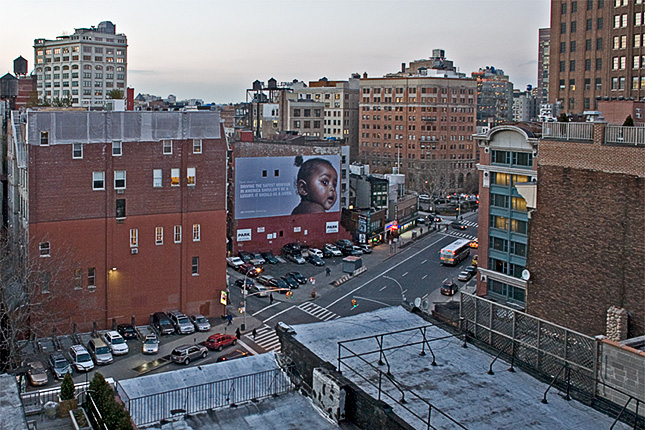
Then I swapped lenses with the Canon 24mm 1.4L and took the following shot.
Regular Lens (Click to Enlarge):
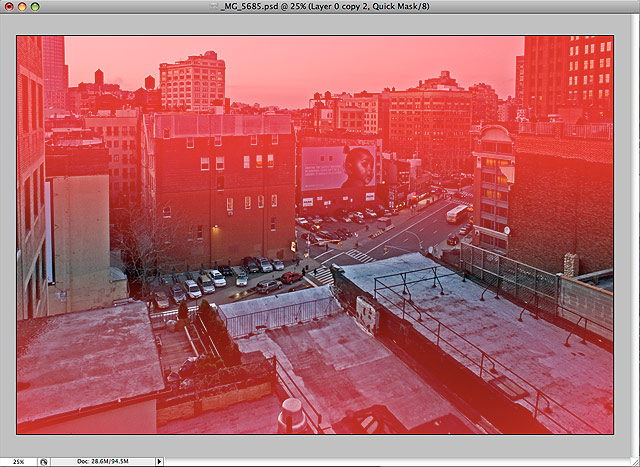
Then I brought the party into Photoshop. In Quick Mask Mode, I used the gradient tool to select the portions of the image I wanted to blur. Check out the screenshot below.
Selecting the Area to Blur in Photoshop:
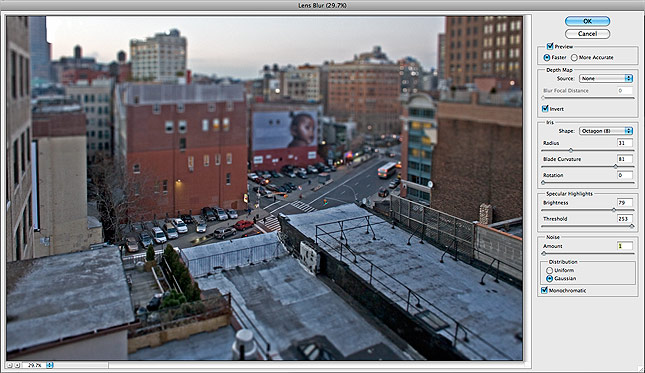
Then, after I was pretty confident that the red areas I’d selected in this photo matched the blurry areas from the tilt-shift photo, I exited Quick Mask Mode and used the Lens Blur filter (located in Filter > Blur > Lens Blur…). It took a few tries to get everything looking as close as possible to the tilt-shift photo, but below are the final settings I used.
Lens Blur Settings (Click to View Settings Large):
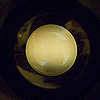
As a side note, here’s a quick and easy way to find out the iris shape of the lens you’re shooting with. Set your camera to Manual mode (or Aperture priority) and dial in an aperture setting of about 11. Then look into the front of the lens and press the depth-of-field preview button. Bingo. Here’s an example on the left – roll over that bitch.
Below you can see the image both before and after the Photoshop blur by rolling over it. (I couldn’t get any of the rollover images to preload, so you’ll just have to deal.)
After the Blur (Rollover to View Non-Blurred)
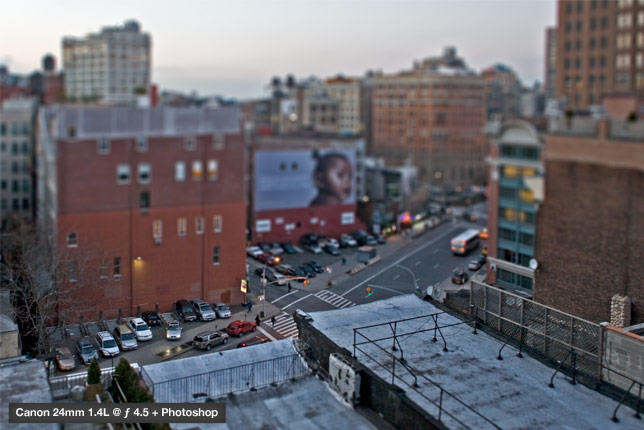
Bitchin. So now let’s compare our freshly-created tilt-shift wannabe with the real deal. (Note that the tilt-shift lens messed with the perspective a little bit so the photos don’t line up perfectly, but you get the idea.)
Photoshop Blur (Rollover to See Tilt-Shift Blur):
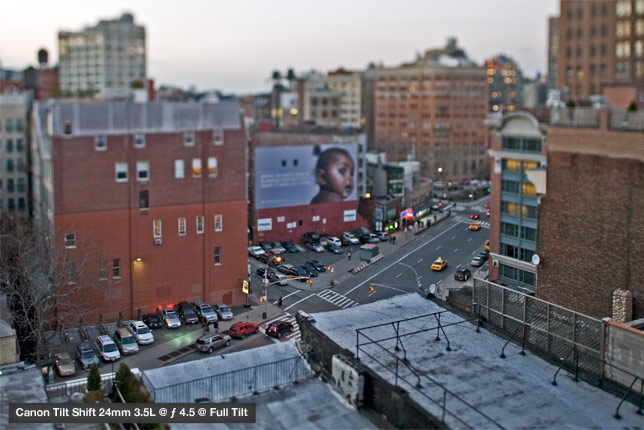
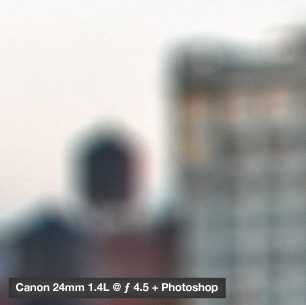
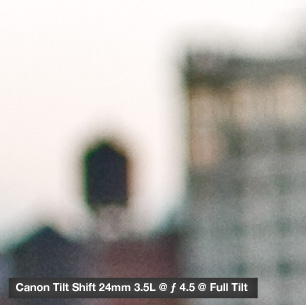
At first glance they’re pretty similar, but what type of geeky comparison article would this be without some pixel peeping? Let’s zoom in and have a look…
Photoshop Blur, 100% Crop. (Touch to See Original Photo):
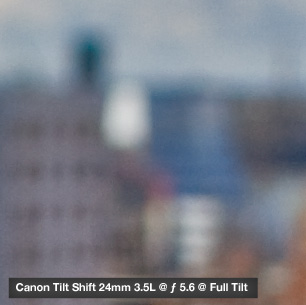
Tilt-Shift Blur, 100% Crop. (Touch to See Photoshop Blur):
Photoshop Blur, 100% Crop. (Touch to See Original Photo):
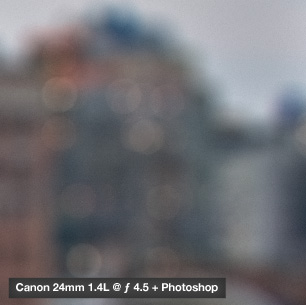
Tilt-Shift Blur, 100% Crop. (Touch to See Photoshop Blur):
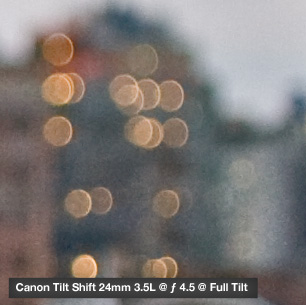
I’ve really got to hand it to Adobe here. While the real tilt-shift blur clearly has a more organic and melty quality to it, it’s pretty damn amazing what Photoshop’s Lens Blur was able to achieve. I’m most impressed with Photoshop’s ability to make the highlights ball up into those iris-shaped bokeh-balls. (Insert hilarious joke here.) True, compared side-by-side to the tilt-shift’s bokeh-balls, Adobe’s bokeh-balls fall a little short. But when you compare Adobe’s bokeh-balls to the points of light in the original photo (by rolling over), it’s pretty amazing what Photoshop was able to do with those original highlights.
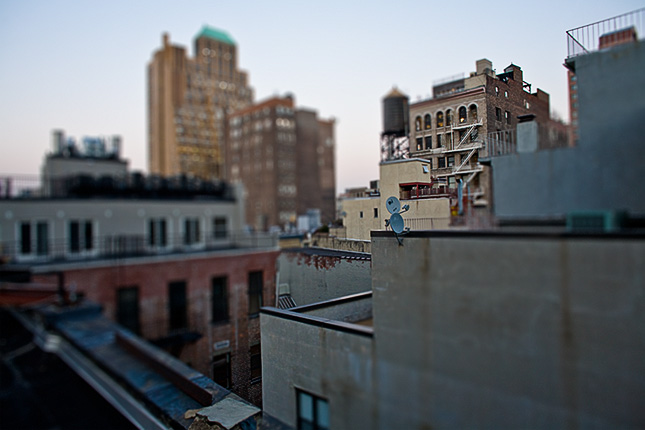
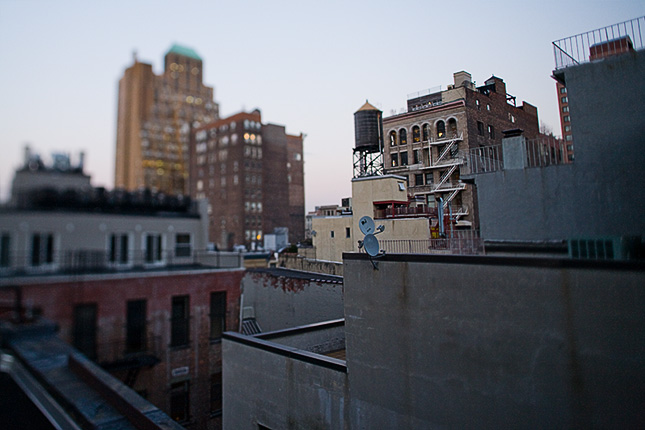
So can Photoshop cut it as a de-facto tilt-shift lens replacement? The answer is, of course, subjective. So I think an appropriate conclusion is this: if you can’t tell which of the two photos below is the real thing, you’ll probably be ok without a tilt-shift lens.
Photo 1: TS or PS?
Photo 2: TS or PS?
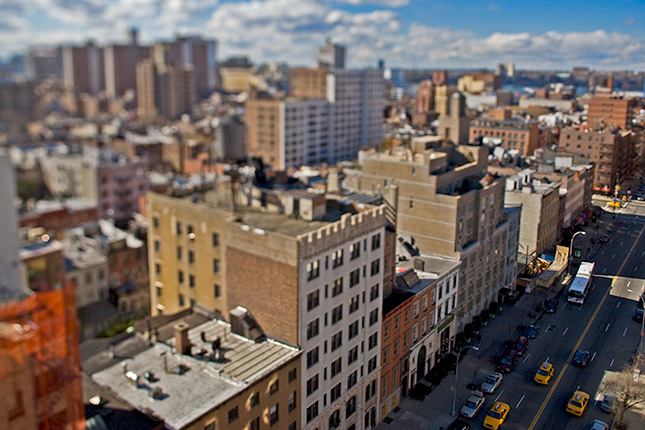
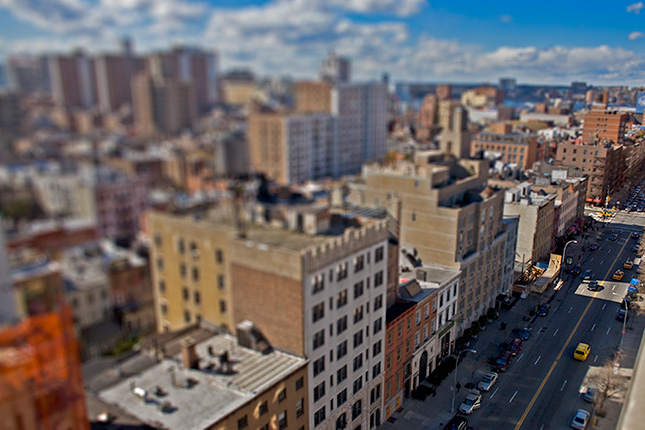
UPDATE: Here’s another comparison…
Tilt-Shift Lens (Click to Enlarge):
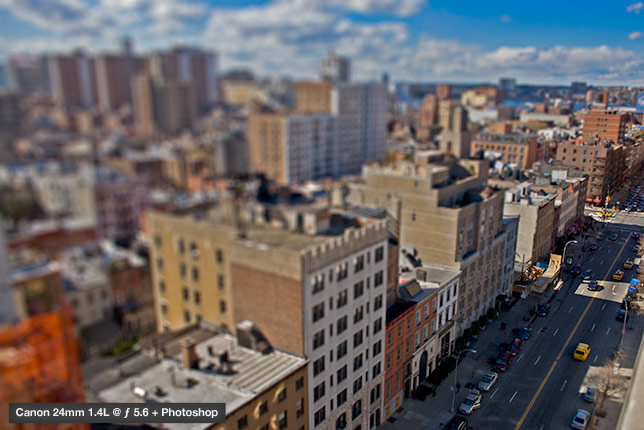
Regular Lens + Photoshop (Click to Enlarge):
Photoshop Blur (Rollover to See Tilt-Shift Blur):
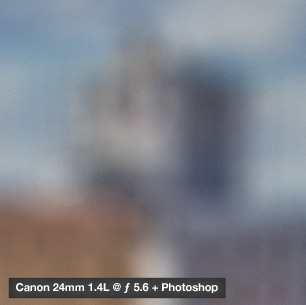
Photoshop Blur, 100% Crop. (Touch to See Original Photo):
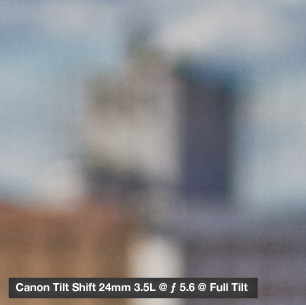
Tilt-Shift Blur, 100% Crop. (Touch to See Photoshop Blur):
Photoshop Blur, 100% Crop. (Touch to See Original Photo):
Tilt-Shift Blur, 100% Crop. (Touch to See Photoshop Blur):
