How to Make a Fillhouette
I discovered something pretty cool in Photoshop. If you select the inverse of a person’s silhouette and apply a “Content-Aware Fill”, the results can be funny, interesting, and sometimes quite beautiful. And it literally takes about 15 seconds.

Here’s how to make a “fillhouette”.
1: Find an image that’s not too difficult to silhouette. Anything with well-defined edges of the person is good.
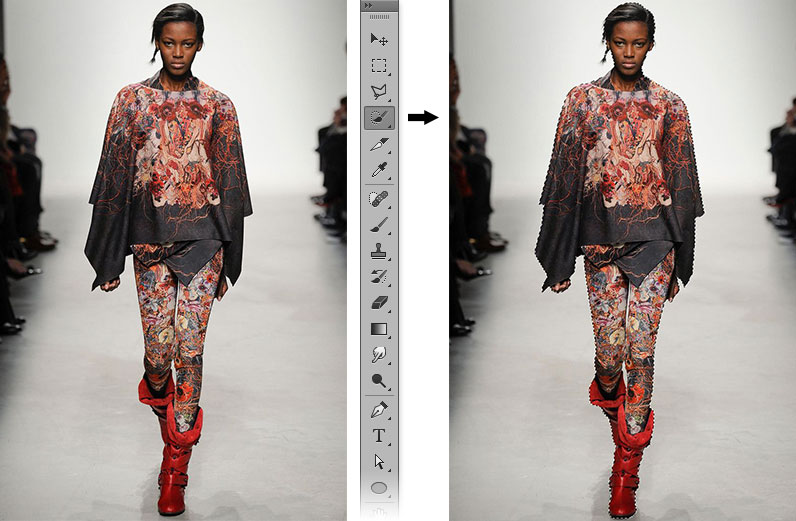
2: Select the person. The easiest way is to use the “Quick Selection Tool”.

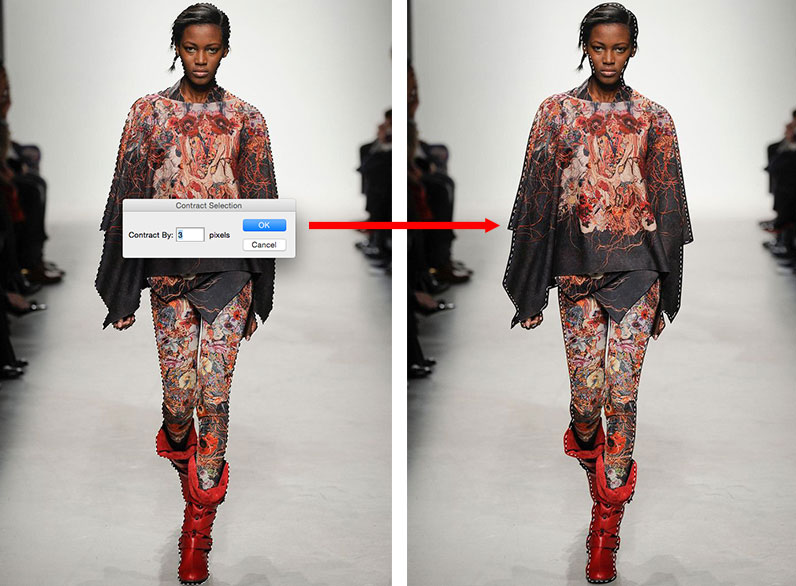
3: Shrink the selection so it’s a few pixels inside the person’s silhouette. Go to “Select > Modify > Contract…” and choose a value around 3.

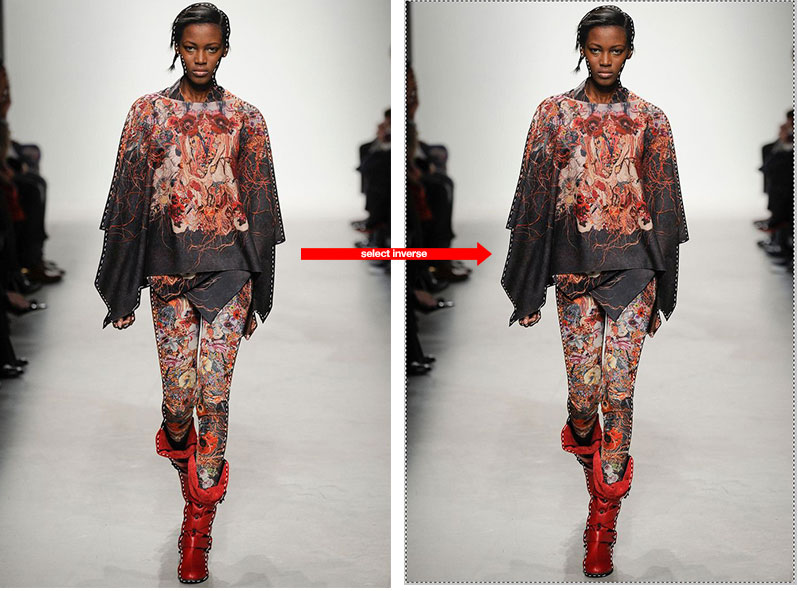
4: Now invert the selection so the background is selected instead of the person. Go to “Select > Inverse”.

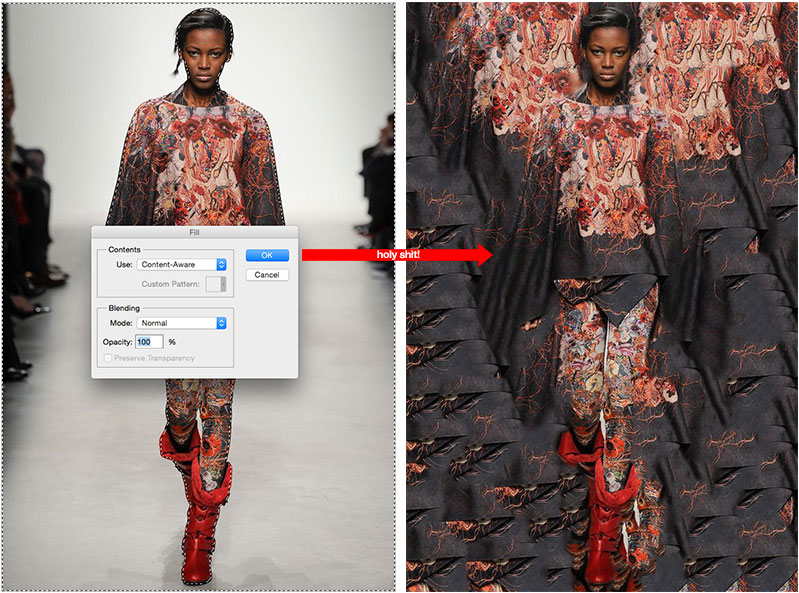
5: Now, just go to “Edit > Fill…” and choose “Content-Aware” from the dropdown. Press OK and you’re all set!

Here are some other fillhouettes I just quickly put together.


I’d love to see what the creative community can do using this technique, so I started a Tumblr where I’ll be posting the best examples I come across: fillhouettes.tumblr.com