Down the Rabbithole: An intro to making photorealistic AI photos in 2024
Hey there. If you’re curious about how to generate high resolution photorealistic AI images, then this post is for you. And if you’re already a seasoned prompter you might still find this valuable or interesting.
Quick background: I’ve been curiously watching AI images get more realistic for years. I’d played around with Dalle-E, Stable Diffusion, Midjourney, and a few others. I even built a silly site that Boing Boing called “Hot-or-Not for fake people” in 2019. But all those AI photos were too expensive/difficult to render and I found the experience slow and frustrating.
So now in March of 2024, open-source image generation models are getting so good and so fast, I figured it was time to take a closer look. But since I couldn’t find any good and cheap photo generation services, I did what any nerd would do and built one myself.
I might save another post to talk about my side project Rabbithole, but in the context of this post it’s just a tool to help understand how these AI image generation models work. Throughout this post I’ll provide links directly to Rabbithole so you can view and modify any of these images yourself.
(Programming note: Since Rabbithole is free for you to use but expensive for me to run, I’m letting everyone generate 1000 free images. You don’t need to create an account but I’m verifying phone numbers to minimize freeloaders. Rabbithole is secure, anonymous, and all your prompts, images, favorites, and bookmarks are saved only to your device.)
So let’s talk about prompts and how to generate photorealistic images.
One-Word Prompts
It turns out you only need one word to create an image. That’s all there is to it. One word!
(I don’t know why I assumed AI images required some fancy 3D rending pipeline or that I’d have to learn “Maya” or some shit.)
But these one-word prompts are utterly fascinating. They’re the building blocks for our prompts, but they’re far from basic.
At first glance, each image seems arbitrary or random. But as you explore, you’ll realize that each image tells a story and perfectly captures the true essence of the word.
-
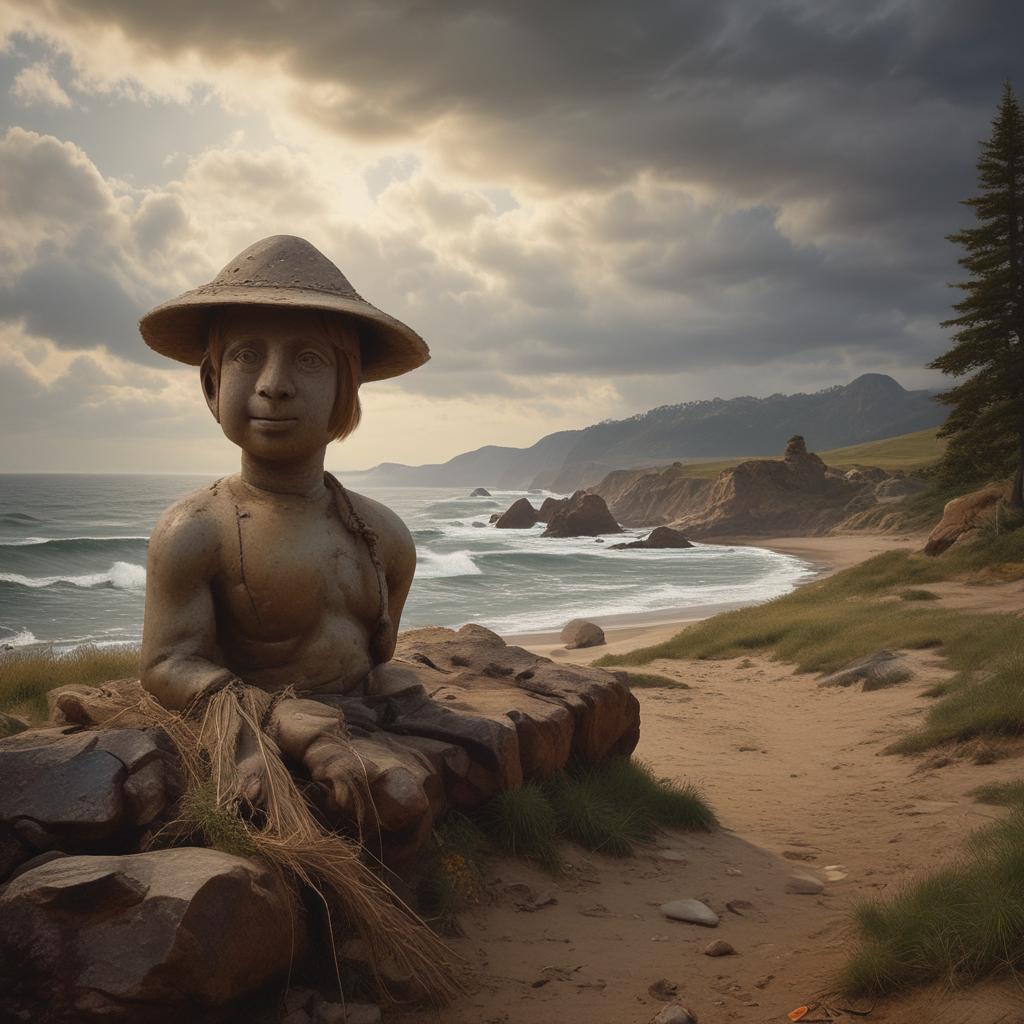
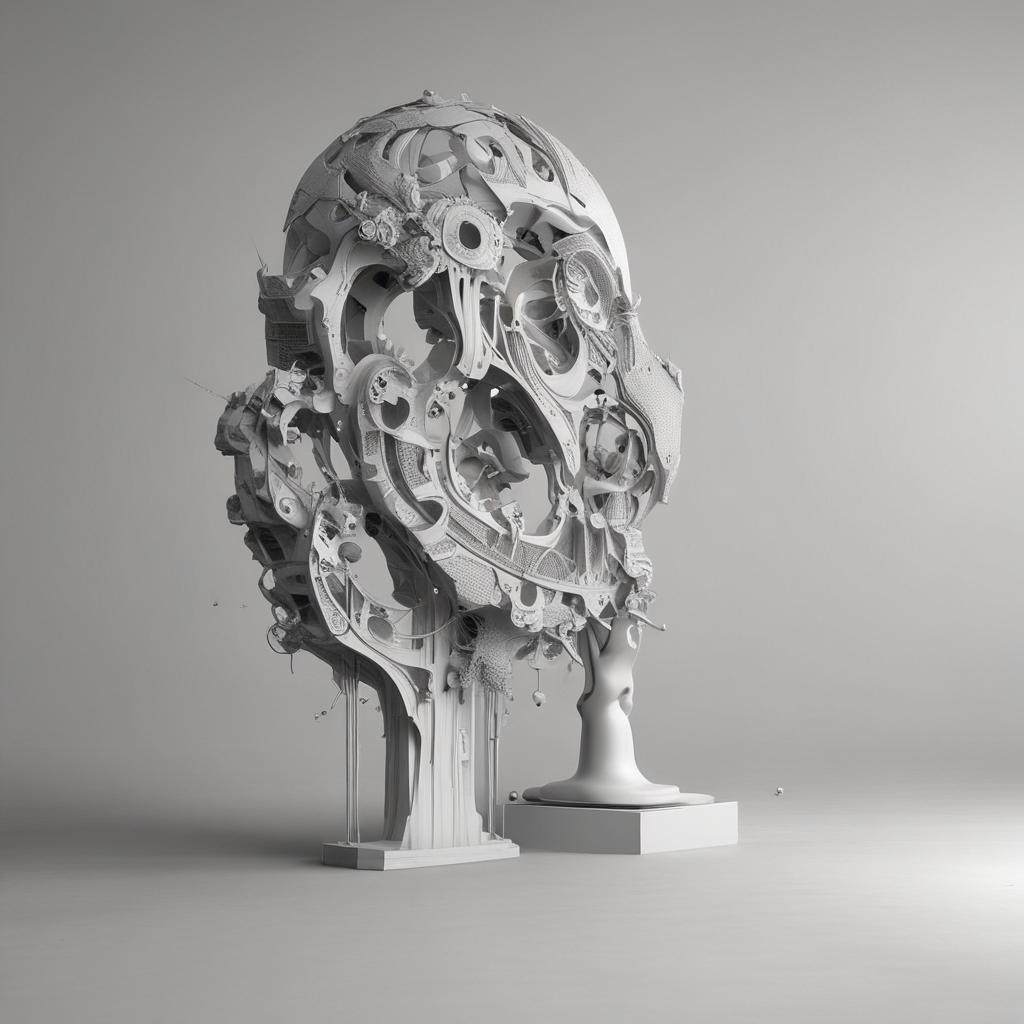
“unknown”, seed 3098564 | Edit
The more you look, the more you’ll find examples of the concept of “unknown” in this photo. I can count a dozen at first glance.
Who made the statue? Is it ancient or modern? Where is it? Who is it of? What’s with the hat? What gender and how old are they? What are they wearing – hey is that armor? What the fuck? Is it sunny or raining? Where is this photo supposed to take place? What’s that straw-like material? Are they holding something or is that a rock?
Lots of unknowns. (I know this feels like I’m just making stuff up, but this whole process is an exercise in subjectivity.)
-
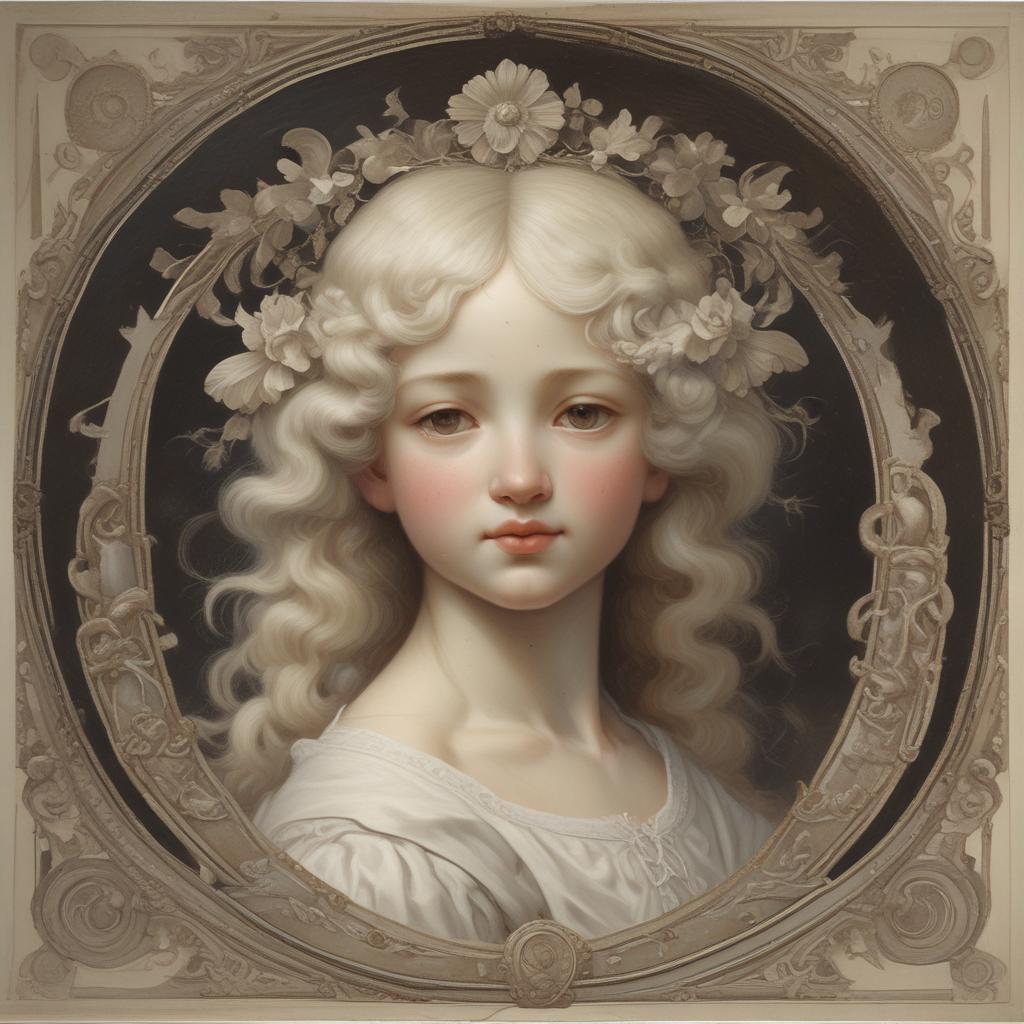
“unknown”, seed 5414076 – Edit
Just like the previous example, this image is drenched in mystery. Beyond the traditional “who, what, when, where, why, how” there are hints of other mysterious visual elements. Look closely at the frame for example. There are all these complex little abstract patterns and shapes. Maybe they tell a story? Maybe they illustrate a conception of “unknown” that we haven’t been able to verbalize yet? Surely they can’t be meaningless.
It’s really interesting seeing other one-word prompts, aka “primitives”.
-
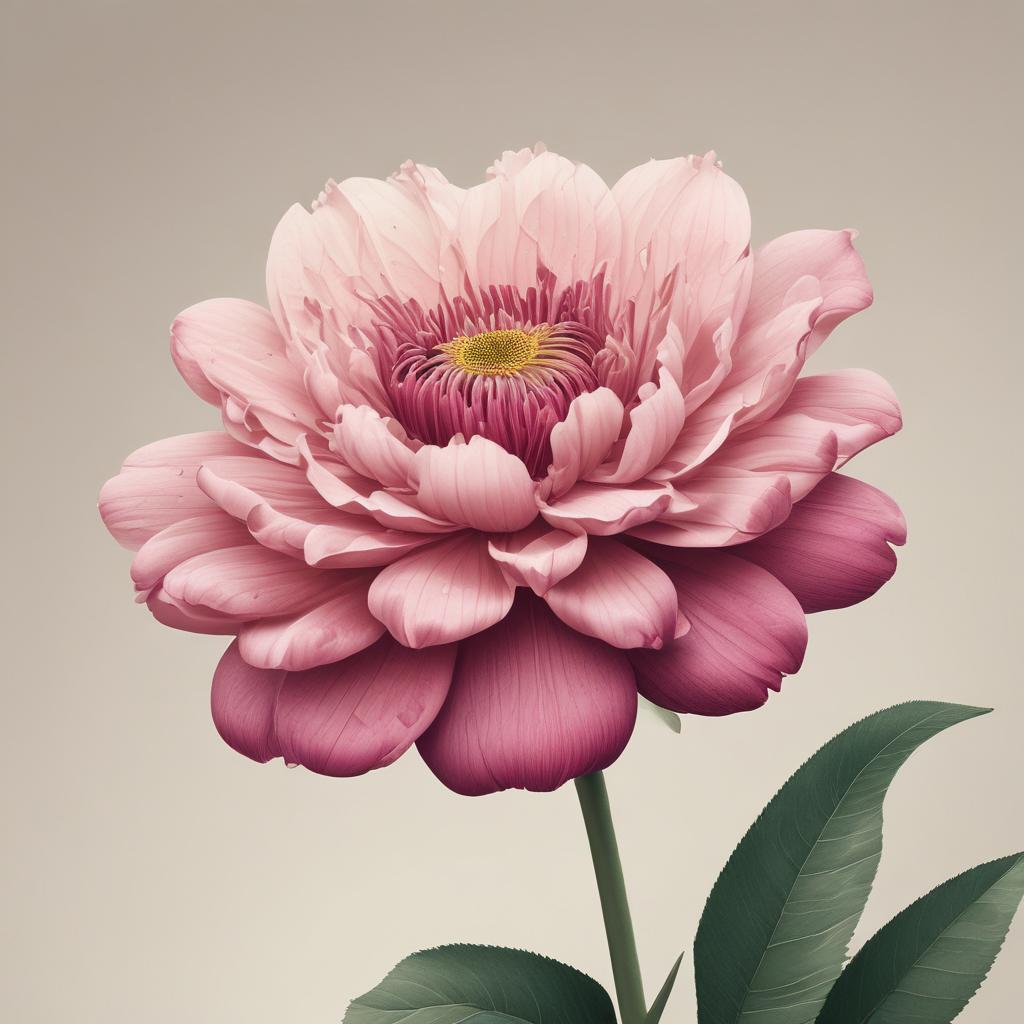
“flower”, seed 1 | Edit
This image is both “a” flower and “every” flower. It’s a strikingly beautiful image when you look closely.
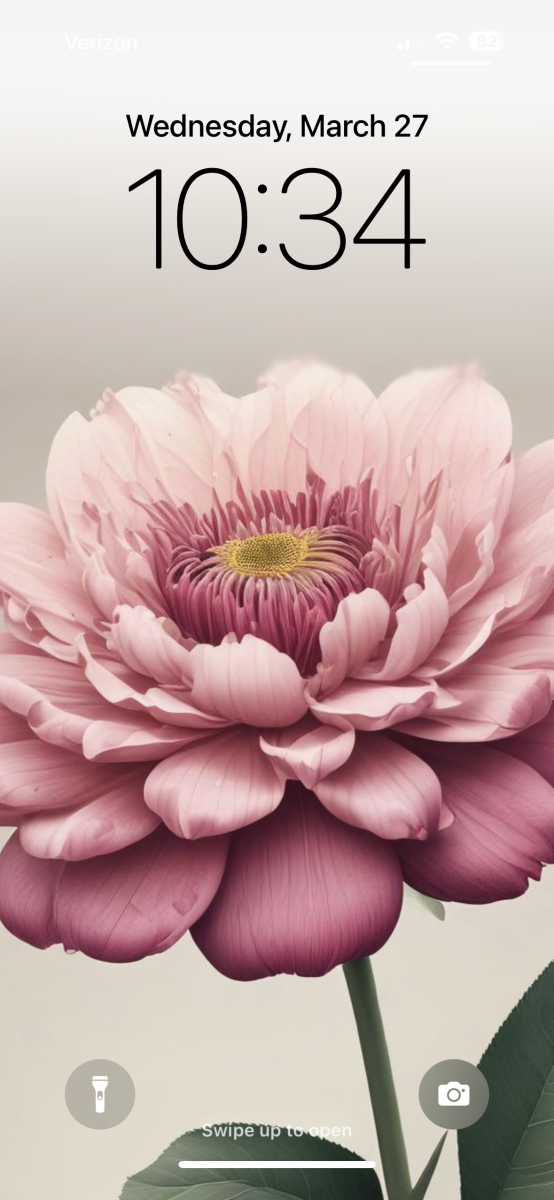
(Thought exercise: Imagine a scenario where we need to show an alien civilization what a flower looks like, and we unite the world in a global effort to create a single 1024×1024 image to represent one single flower. That’s literally what’s happening here, and I think that’s cool enough to warrant a new wallpaper.)
Seeds
A seed is just a number you include with every prompt to make it different. The same prompt with a different seed will result in totally different images.
Here are some more primitives. Remember, these are only the primitives from a single seed. There are literally limitless seeds to explore.
-
“uncertain”, seed 6393142 | Edit
-
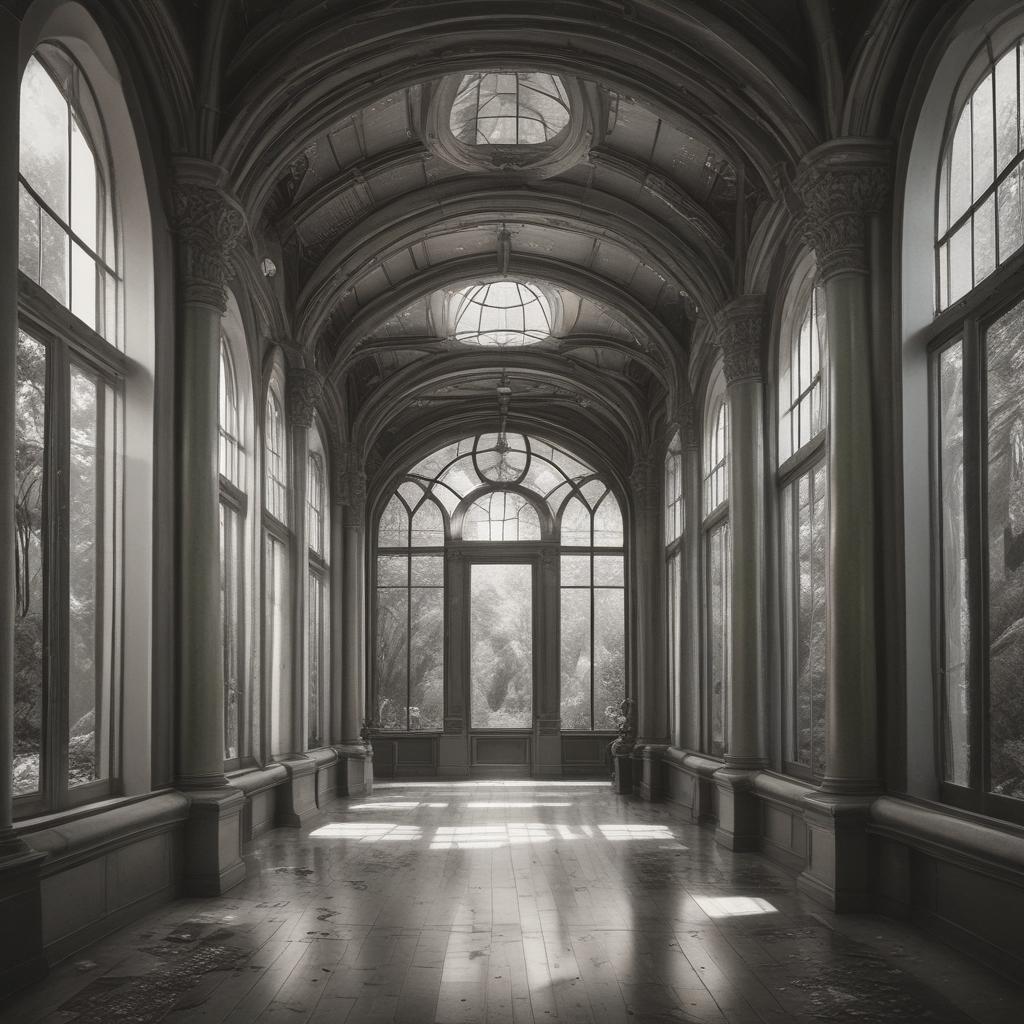
“presentation”, seed 1981308 | Edit
-
“expansive”, seed 2343346 | Edit
-
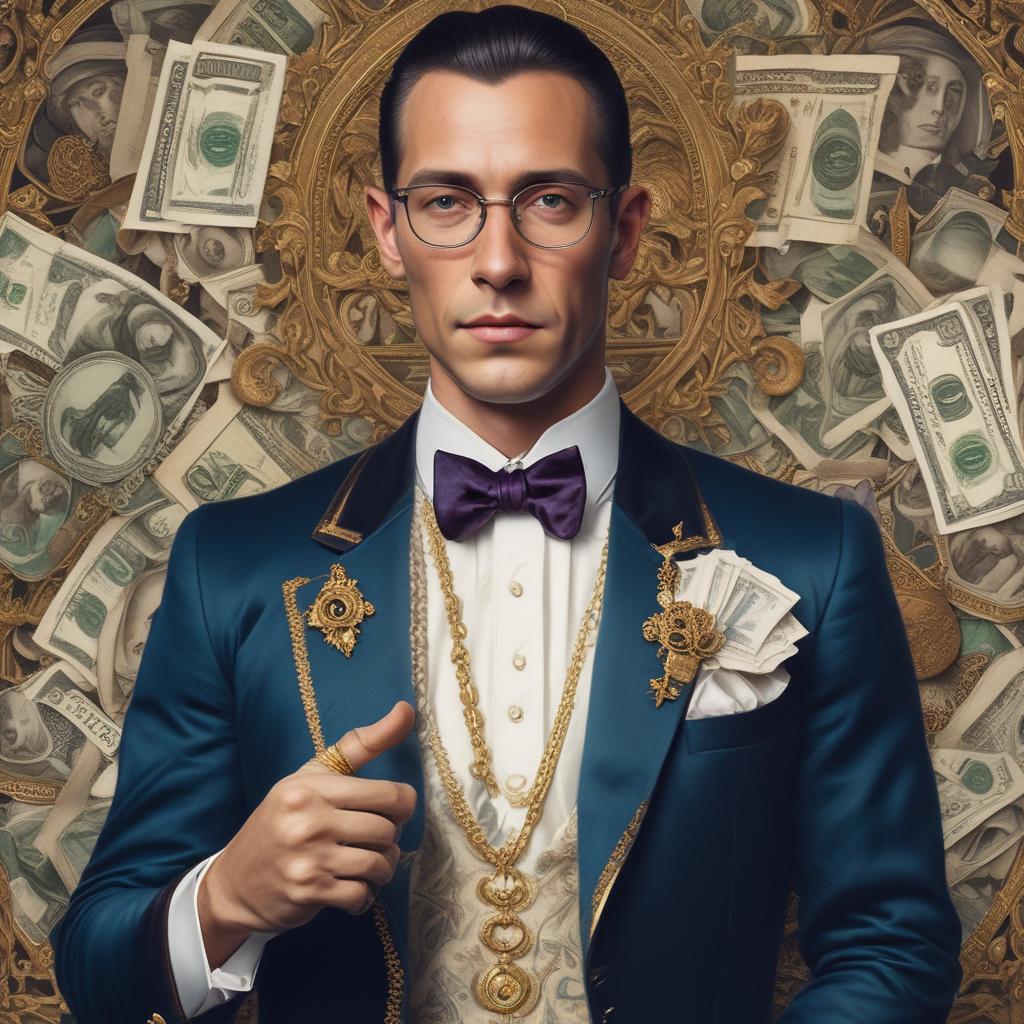
“rich”, seed 1997436 | Edit
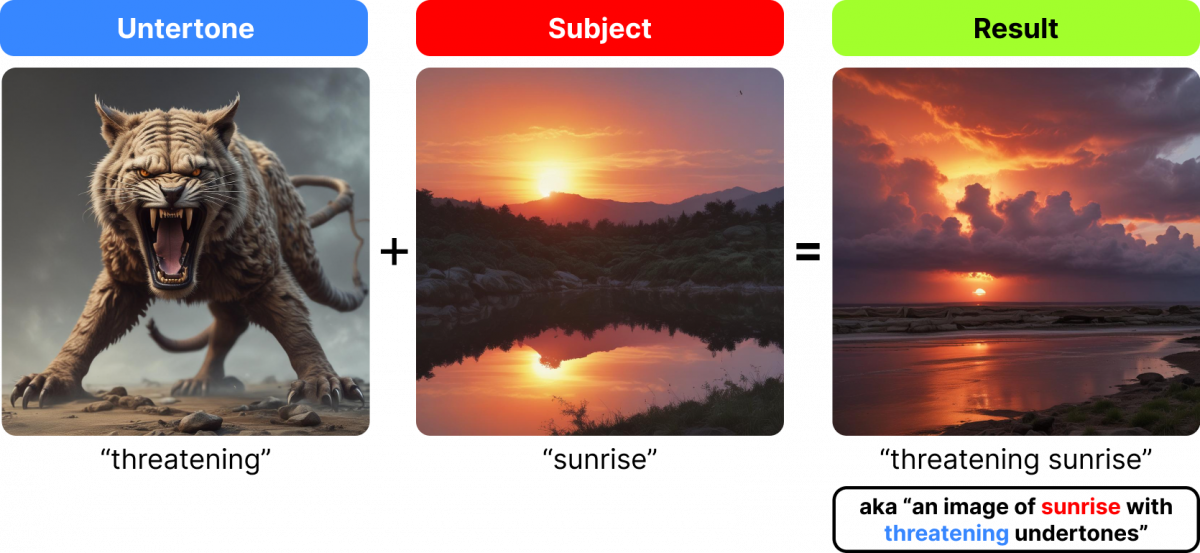
Two-Word Prompts
Two word prompts seem to follow this formula:
- Word 1: Undertone
- Word 2: Subject
This means that “flower explosion” will result in an image of an “explosion” with “flower” undertones. What does that mean? Let me show you.
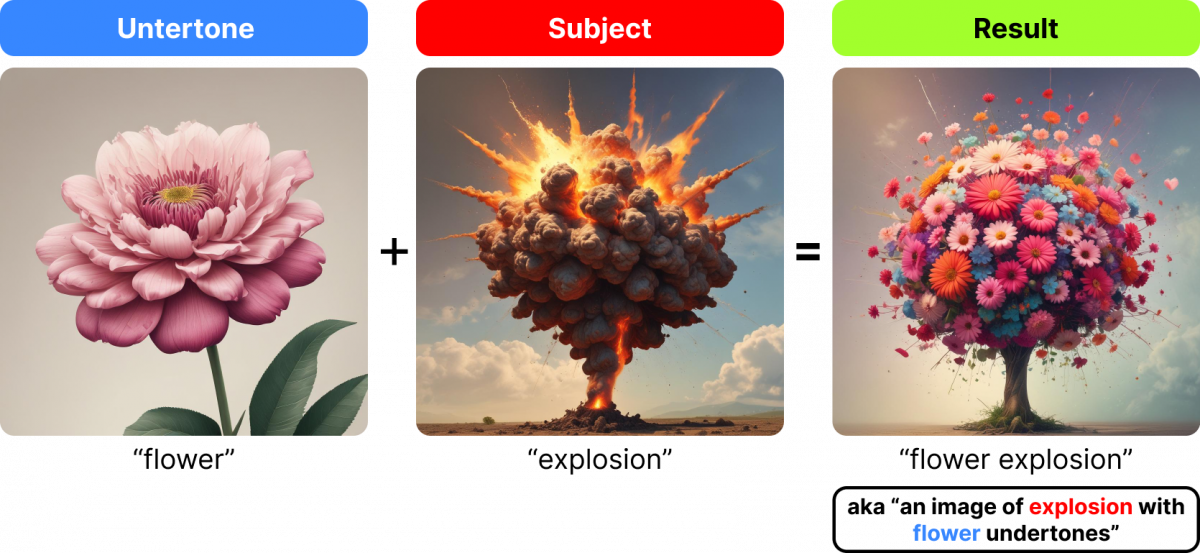
See what’s happening here? The result image (“flower explosion”) looks very similar to its subject, “explosion”; they both have the same overall bulbous shape, the extending tendrils, the extreme variation in light/dark, the sense of extreme energy, the clouds in the background, the shape of the base, etc. Quite literally, the result is a picture of “explosion” with “flower” undertones. So far so good.
Let’s reverse it and see what happens.
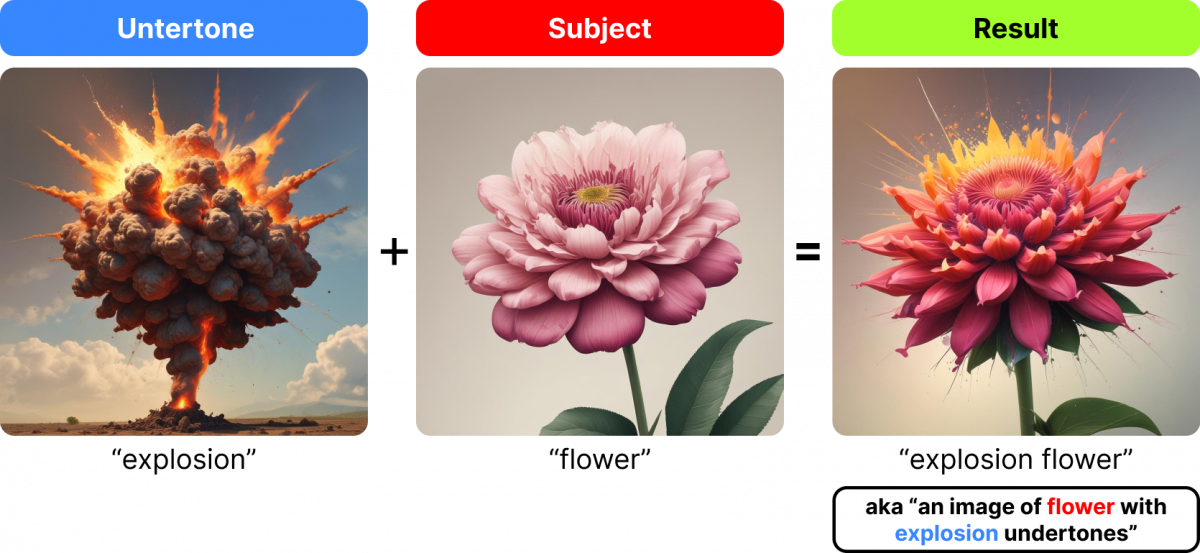
In this example, the result is more clearly a picture of “flower”. But if you look closely, you’ll notice some aspects of “explosion”; specifically the yellow/orange highlights at the top and the tendrils/debris expanding outward.
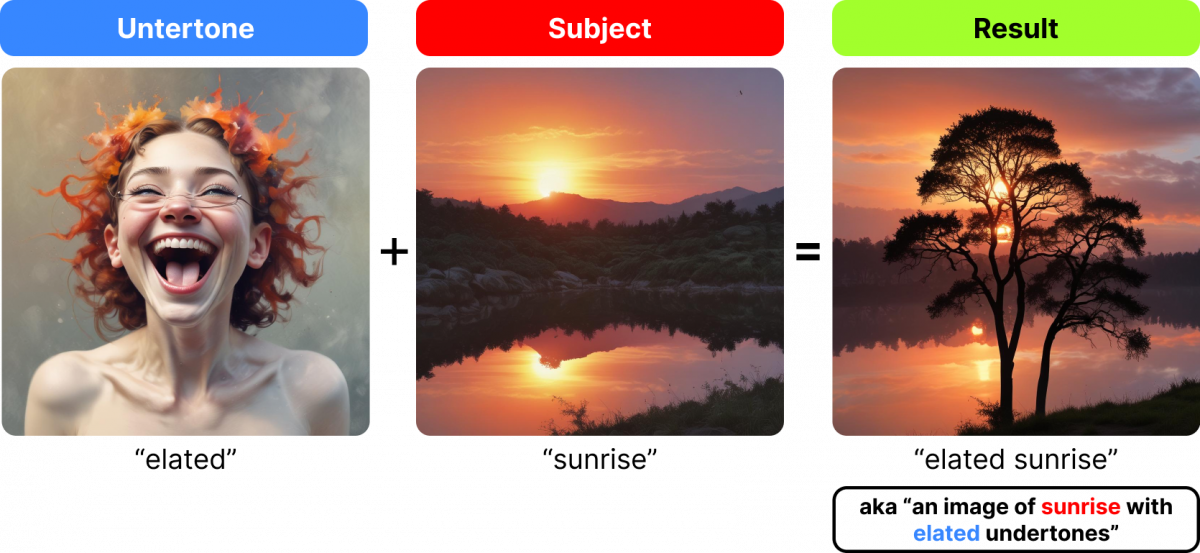
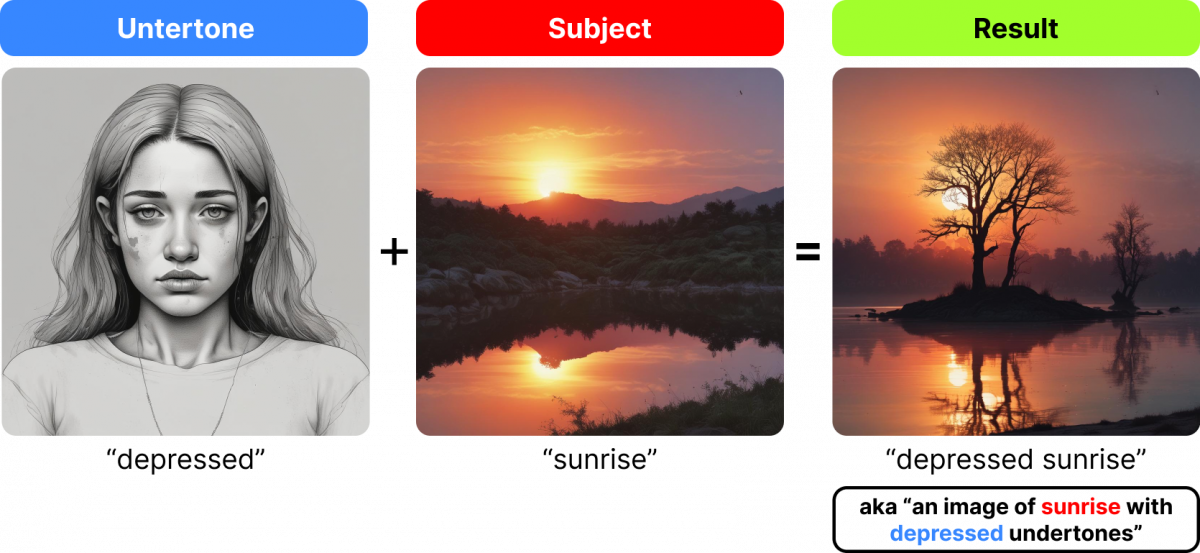
And here’s one more example of undertones and subjects in two word prompts.
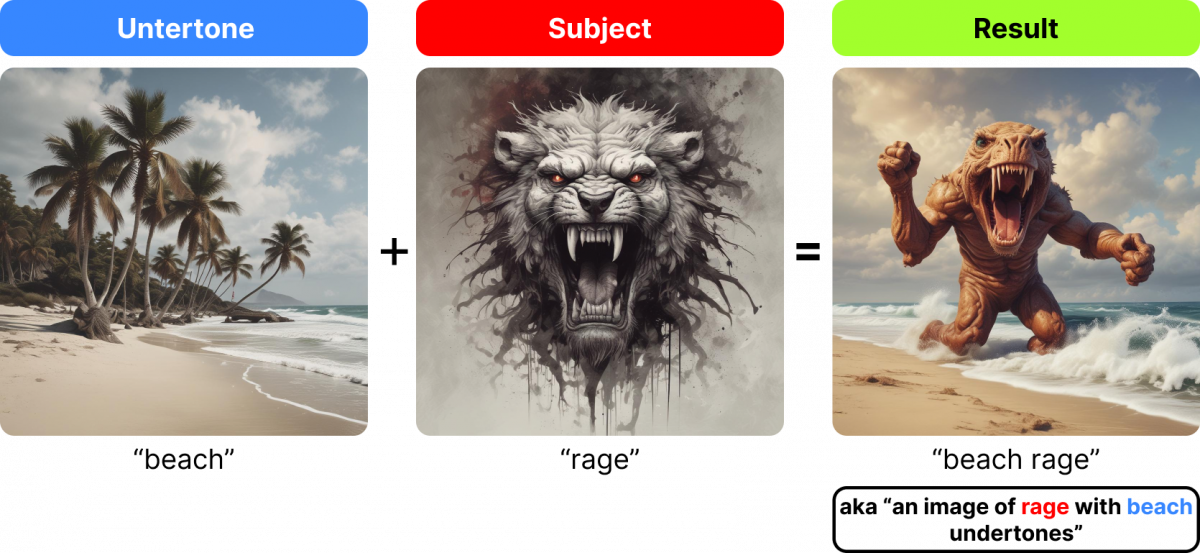
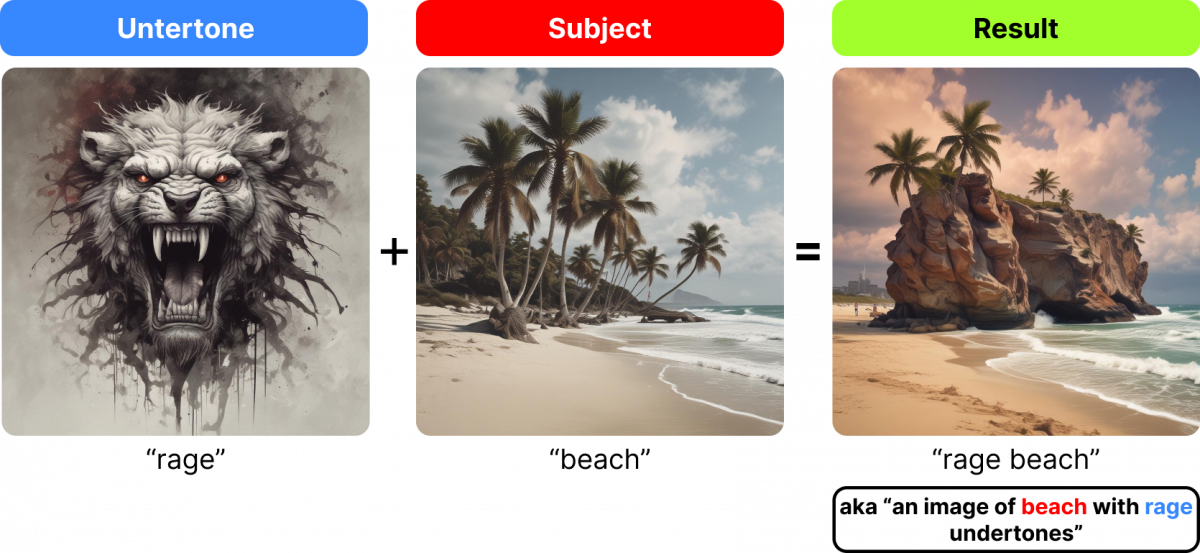
So “beach rage” is clearly an image of “rage” more than it’s an image of “beach”. And the same is true for the reverse; “rage beach” is clearly an image of “beach” – and you might not even realize that “rage” is the undertone. But the “rage” is subtly (and beautifully!) incorporated into the output image with the hints of red in the sky and the treacherous rocks.
Adding unique and unexpected undertones is a great way to add emotional depth and complexity to your images.
Isn’t this kinda fun?? The better your writing skills, the better the images you can create.
Short Prompts vs Long Prompts
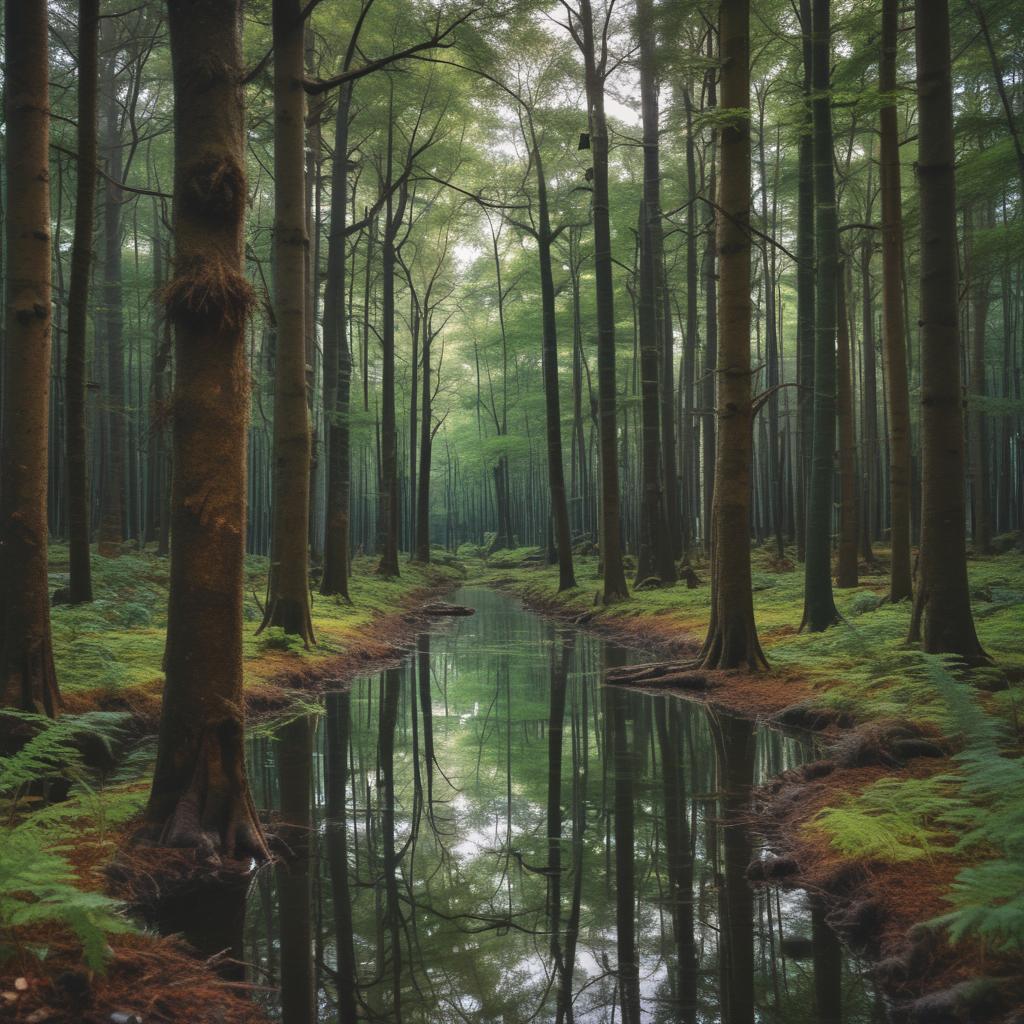
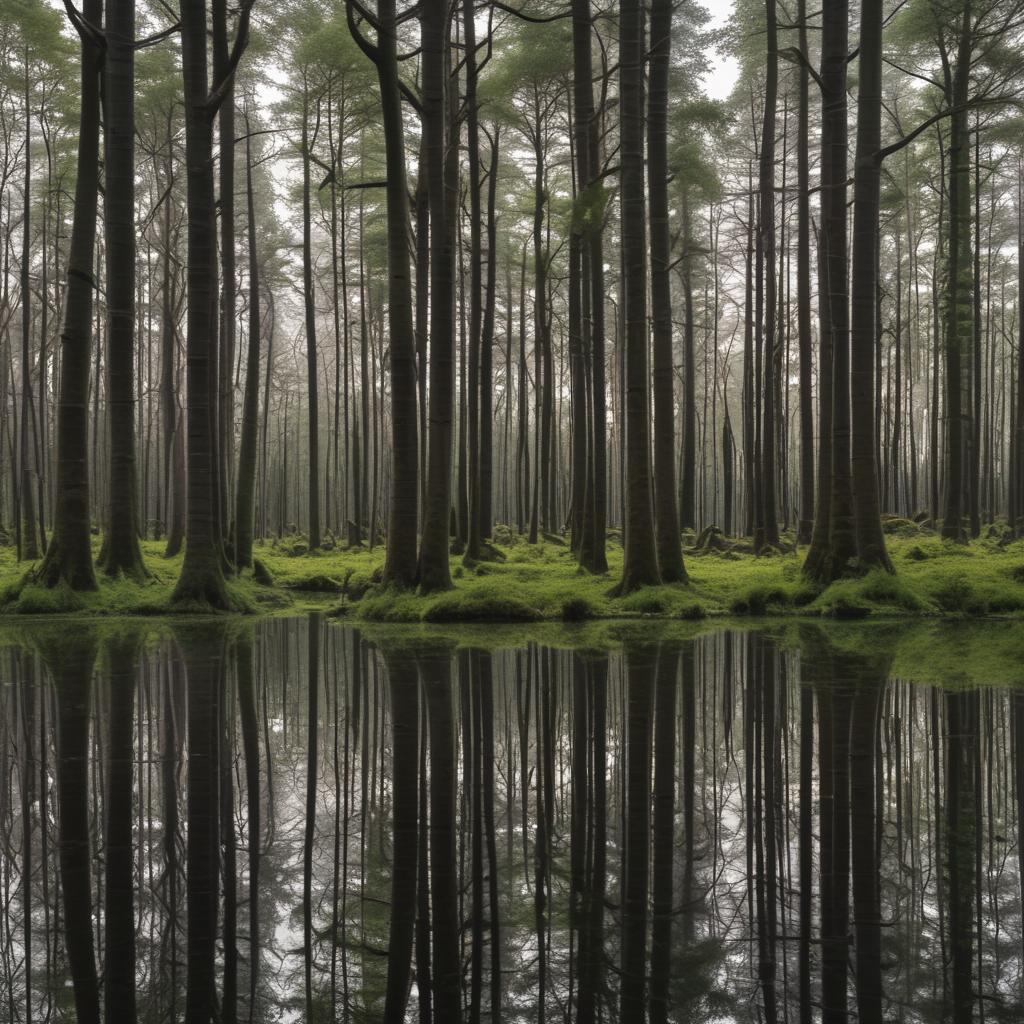
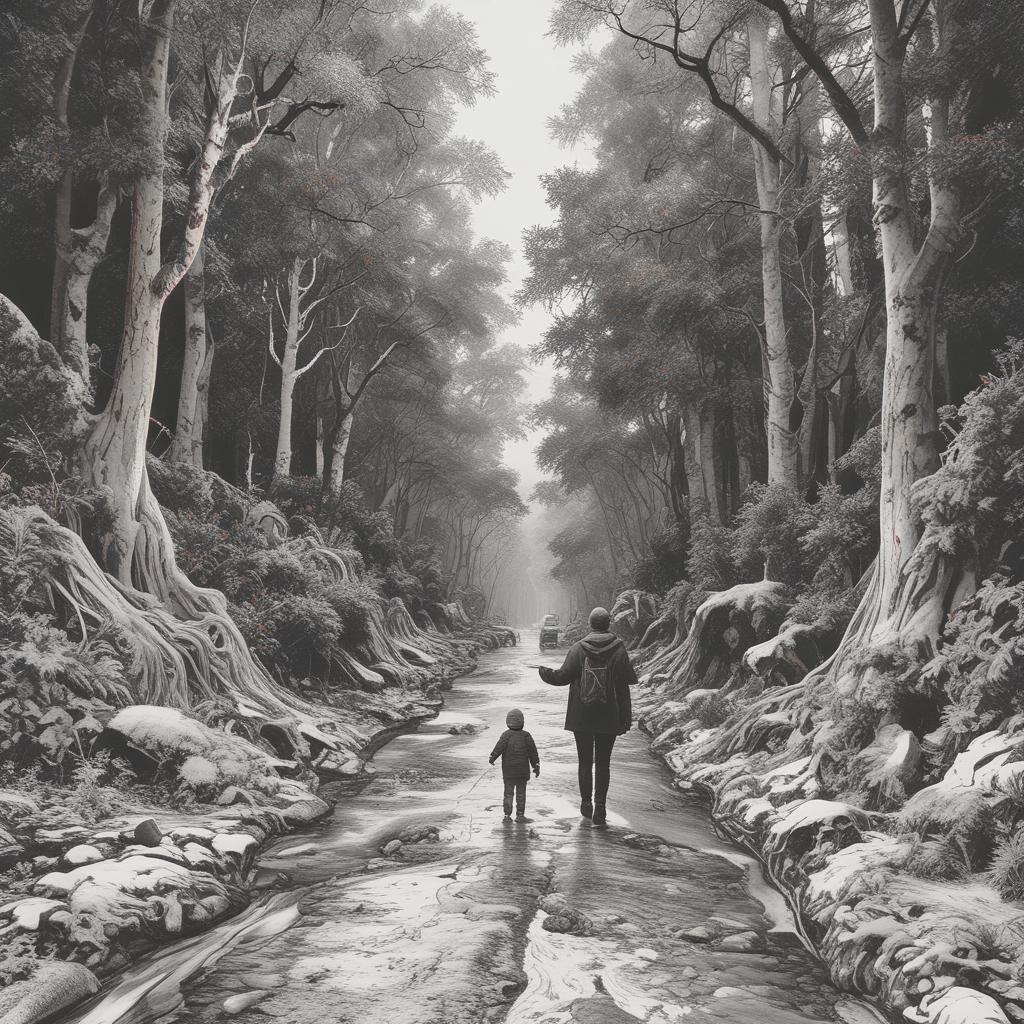
There seem to be two main approaches to generating photorealistic images; short prompts and long prompts. They can both provide stunning images, but with very different approaches.

“celebration beach man candid”, seed 1724906 | Edit

“a quirky stylish man wearing a tan straw hat and open turquoise shirt and accessories on a beach with palm tress and colorful beachgoers in the background”, seed 7933126 | Edit
Short Prompts
With short prompts, every word matters a lot. And with different seeds (the random number associated with each prompt), you’ll get vastly different images with the same prompt.
Short prompts are good for when you’re just getting started visualizing an image from your head, or just want inspiration. Long prompts are good for when you want to generate something specific.
Here are some different seeds, all with the same short prompt intense liquid explosion wearing candid studio
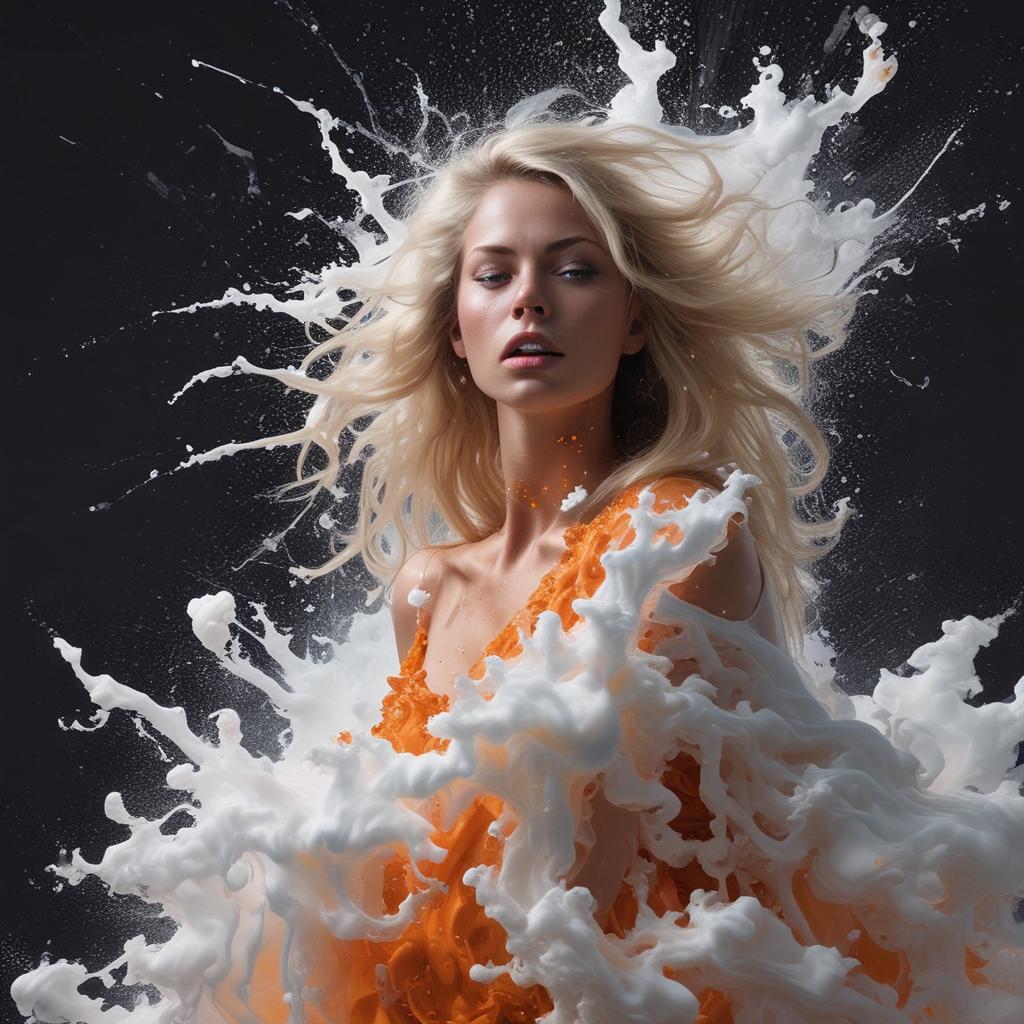
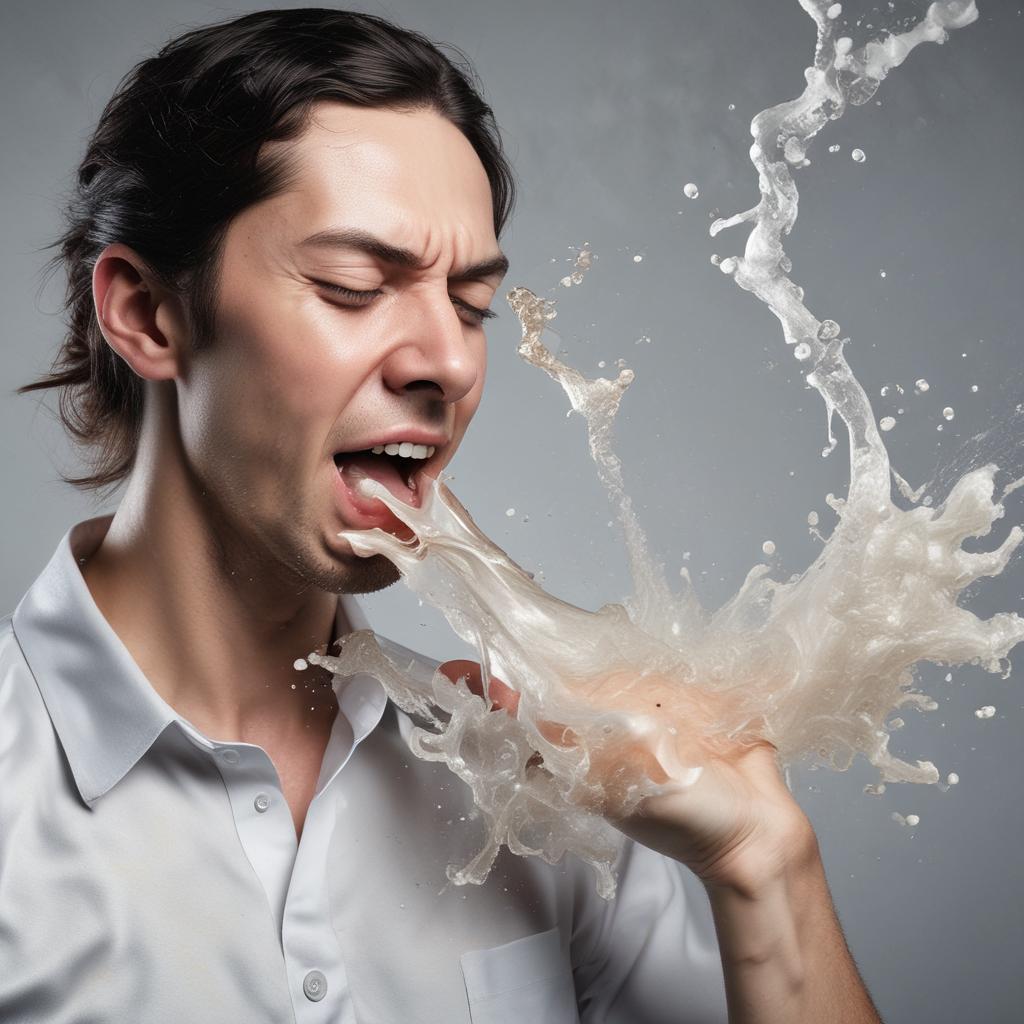
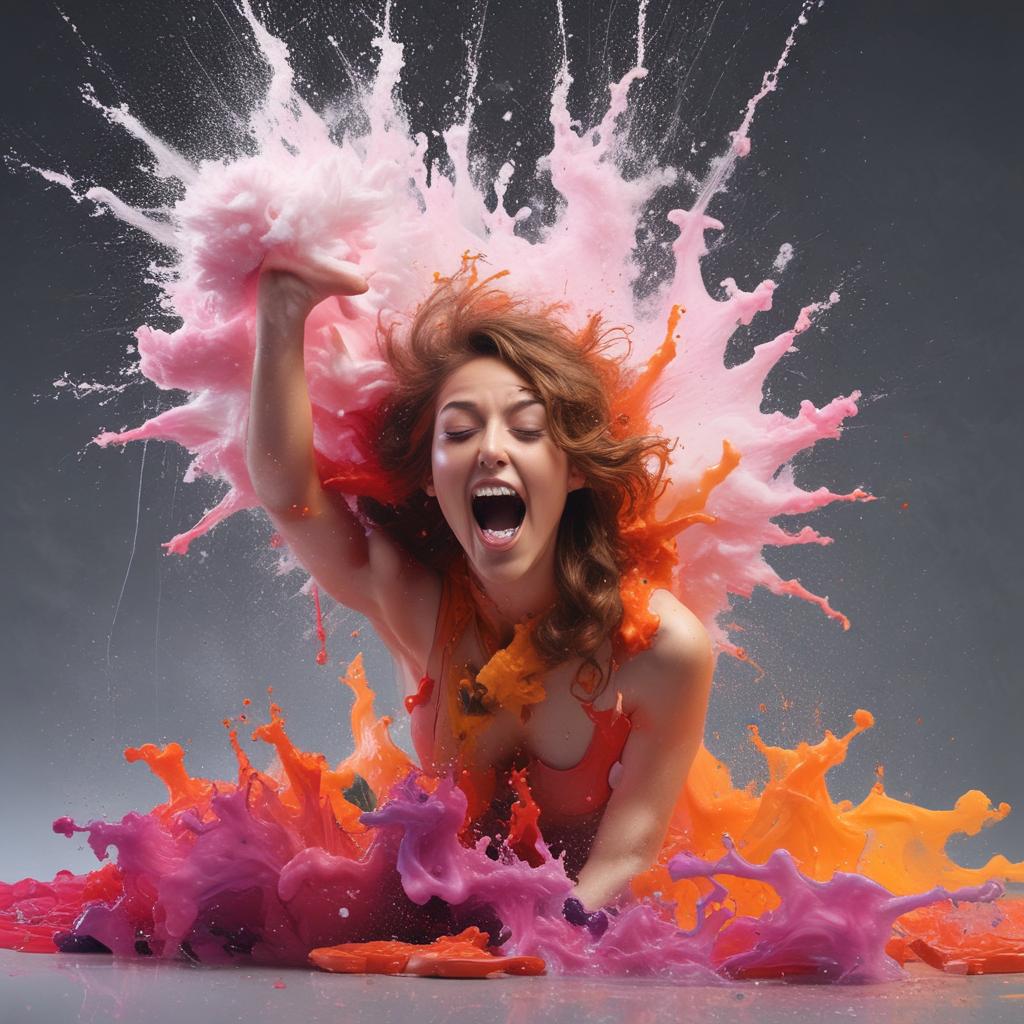
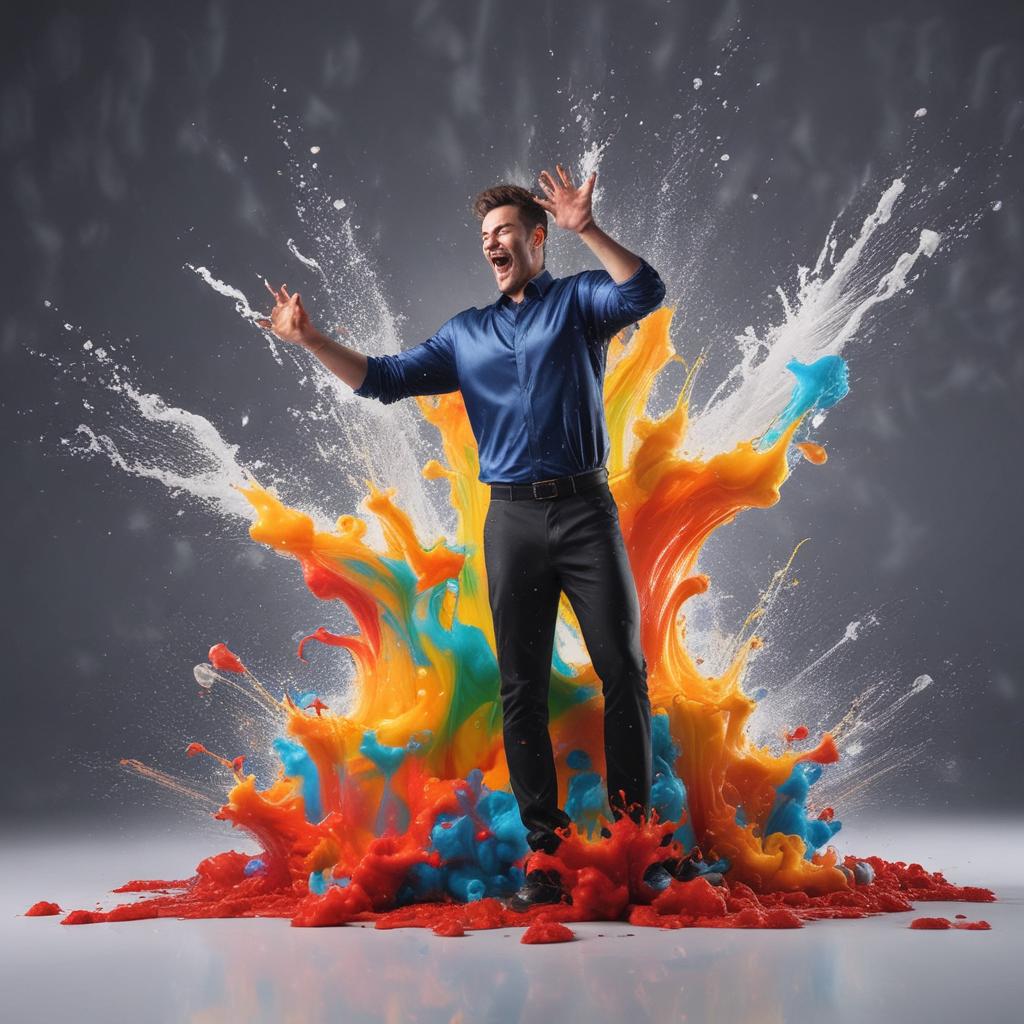
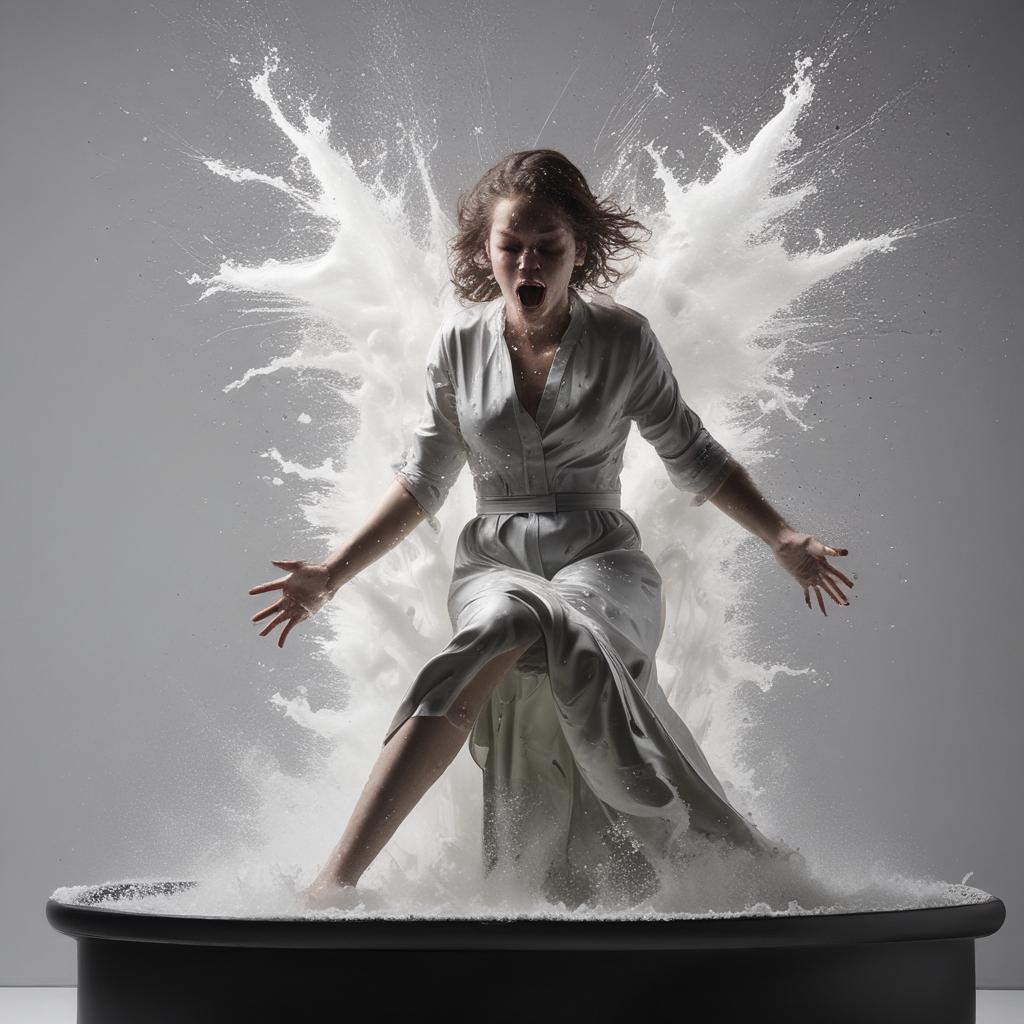
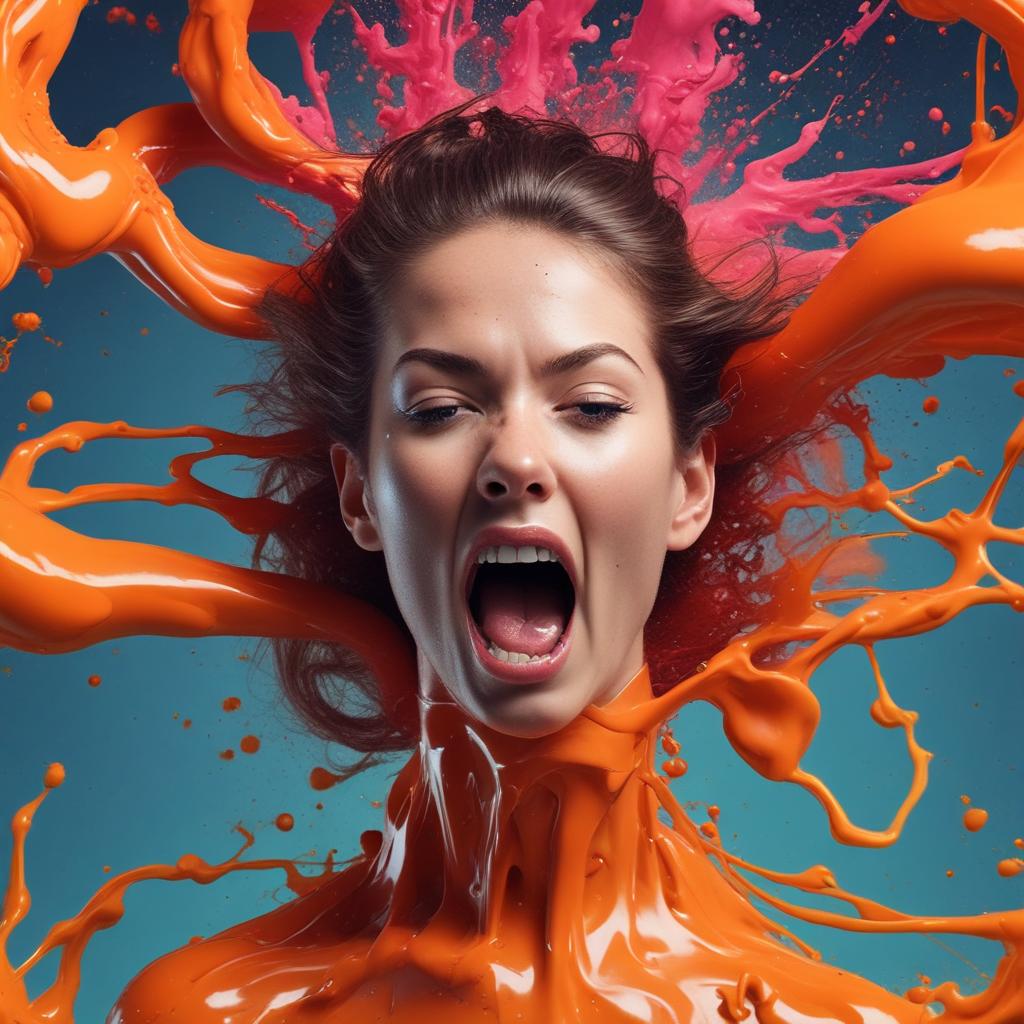
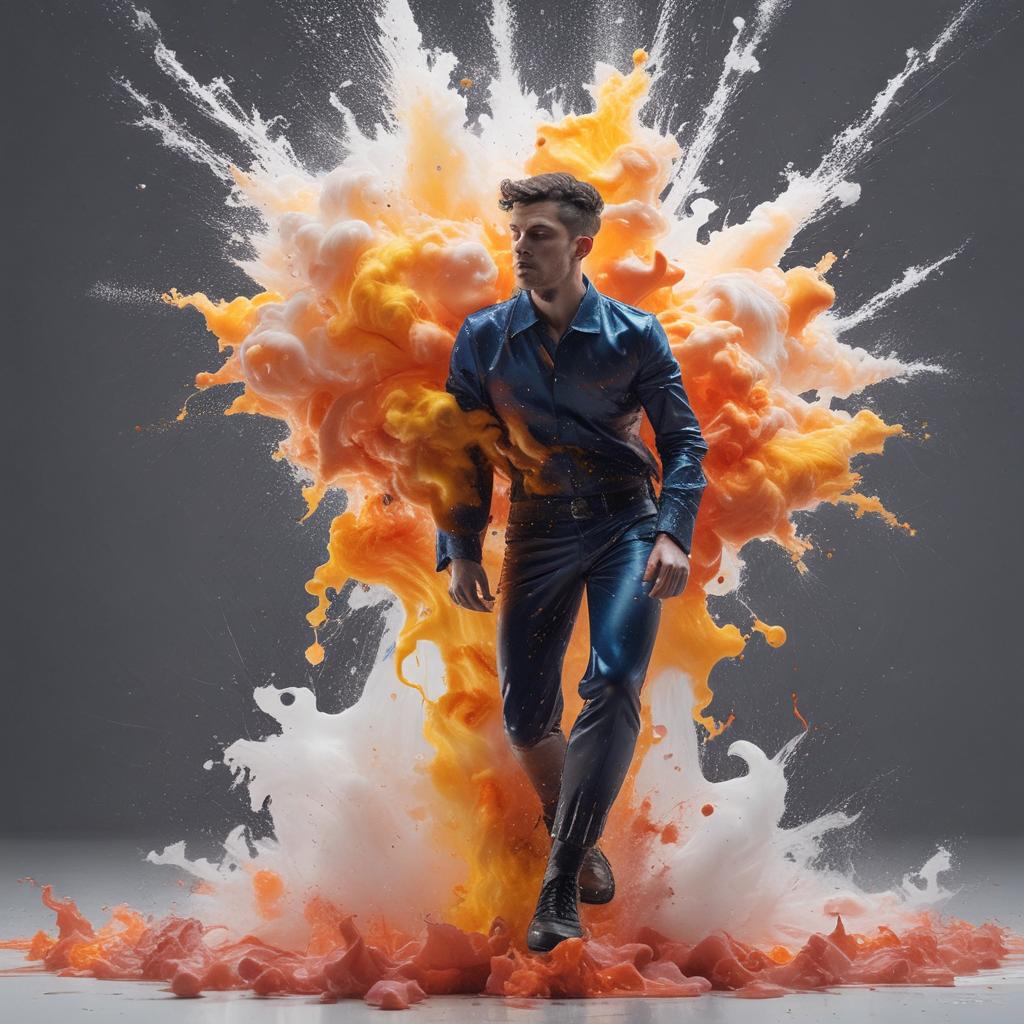
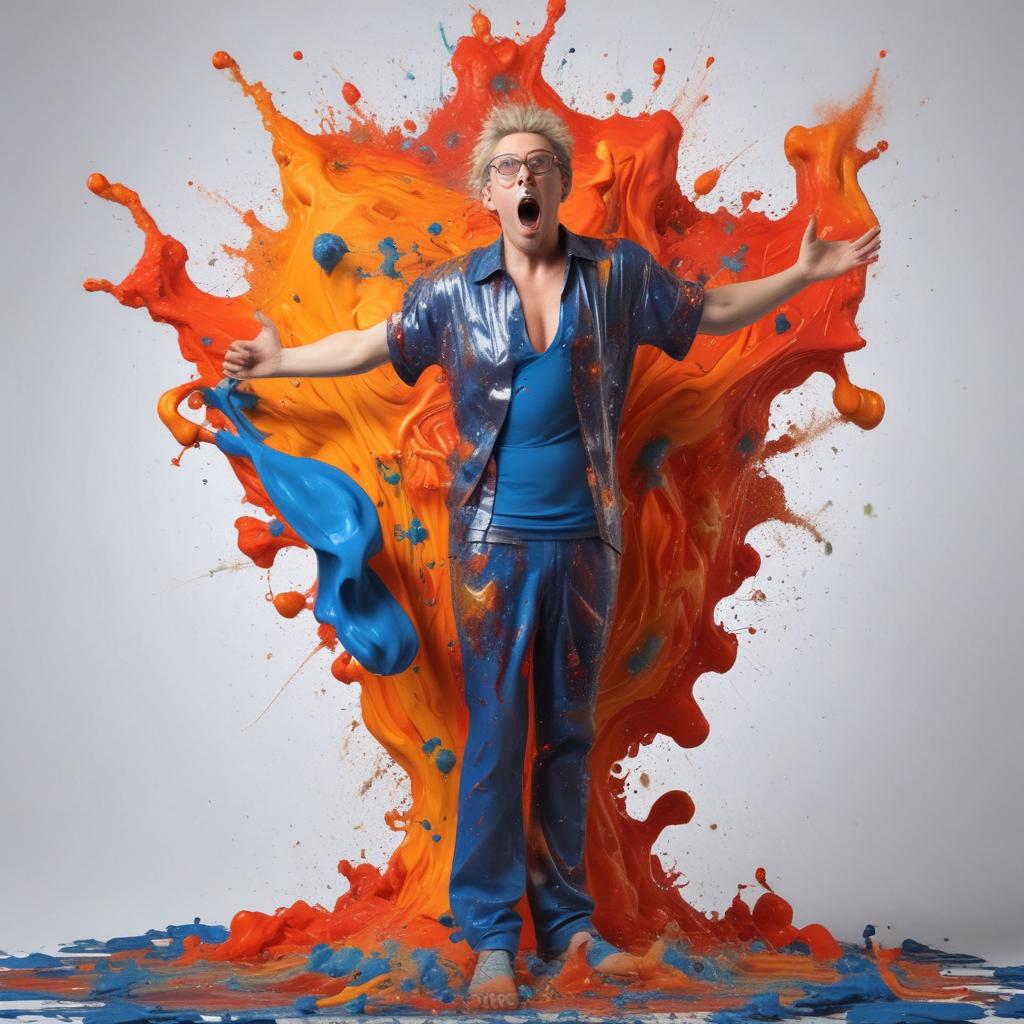
Each word in this prompt is doing some heavy lifting. Here’s a breakdown:
- “intense liquid explosion” – This packs a lot of dynamic visual energy early in the prompt. Try removing some of the words to see what happens and notice how the result images don’t look as interesting.
- “wearing” – This is a neat trick you can try in a bunch of different scenarios. I wanted to see images of both men and women with the same prompt, so at first I tried “person” but that didn’t look right. But without a word about a person, the image wouldn’t include a main subject. So I picked a word that would apply to both men and women – “wearing”, because that word can be applied to all genders to describe what they’re wearing. Similarly you can use “face” for a non-gender-specific closeup image of a person.
- “candid” – This makes the image photorealistic, especially with people and/or a main subject in the center of the frame.
- “studio” – This adds some more consistency to the images. Without it, all the images are outdoors on the street and instead, I wanted them to look like studio portraits.
Short prompts almost always look sharp and crisp. I think this is related to the fact that with only a few words in your prompt, you’re not asking the AI model to jump through too many hoops to generate your image, so the result image is closer to something that exists in real life – and the model can reference it.
But sometimes you might be asking for something that the model doesn’t know about, ie, an image that it wasn’t trained on (because it might not exist).
For example, good luck trying to generate a car with triangle wheels…
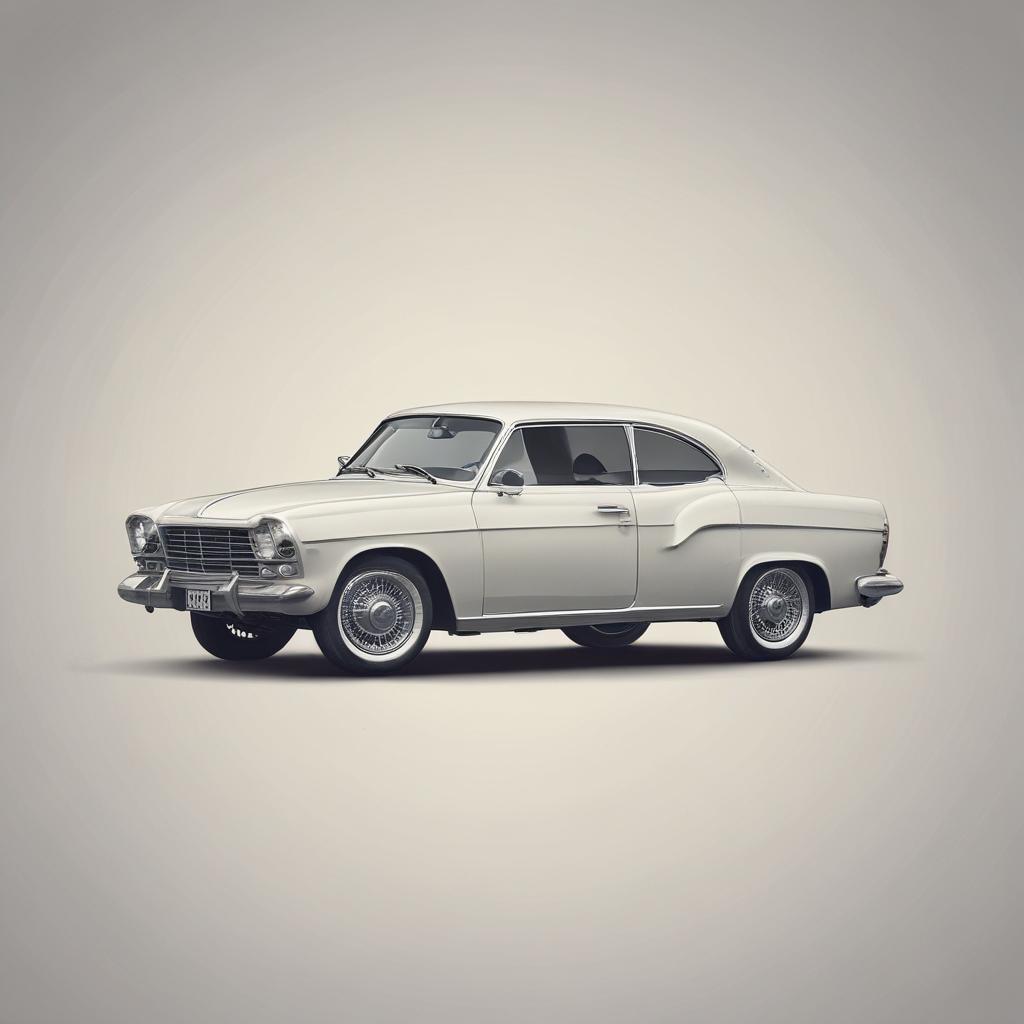
“car with triangle wheels” 
“triangle car wheels” 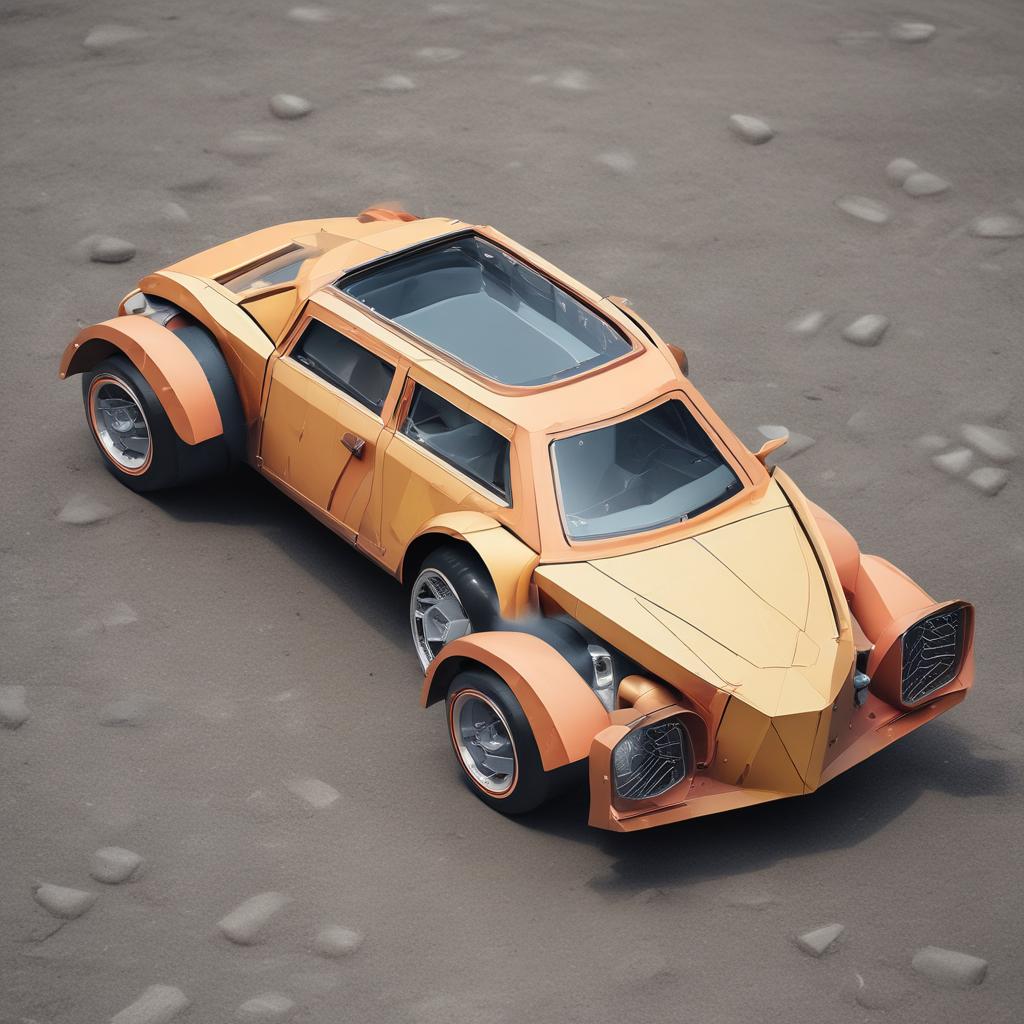
“a car with wheels shaped like trangles” 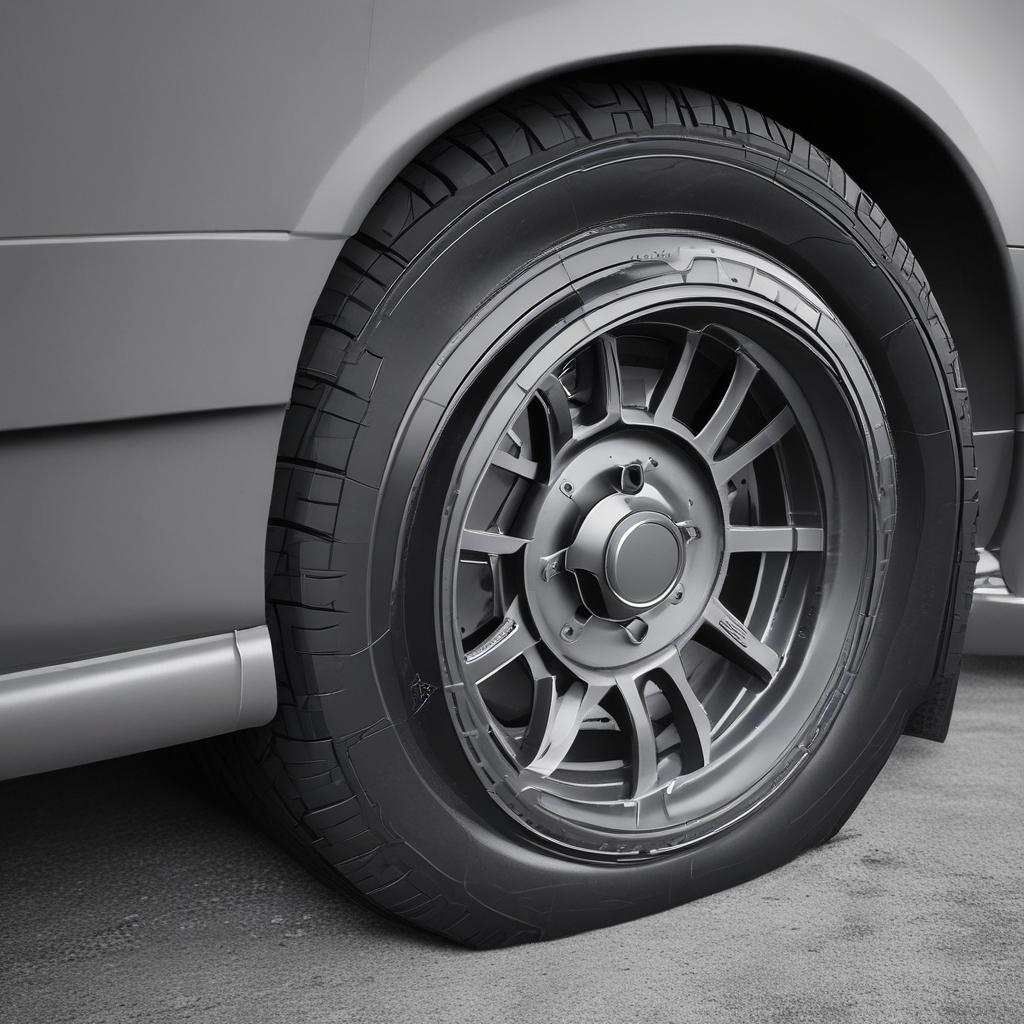
“round triangle tires on a car”
Since this model was trained on real images of cars with round wheels, it can’t imagine a car with triangle wheels like you can, so this is what we’re stuck with.
You can also get the model to hallucinate by asking for other things that don’t exist in regular photos, like specific expressions.
Look closely at these examples and notice where the images look “weird”…
-
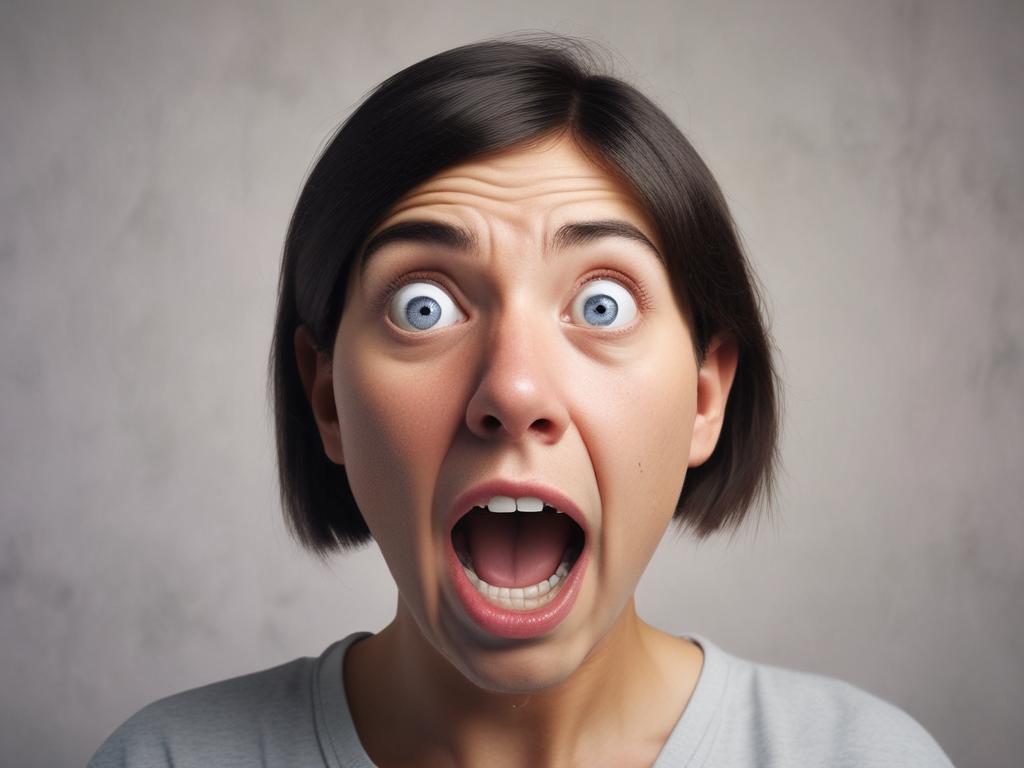
“shocked surprised face portrait”, seed 4029232 | Edit
-
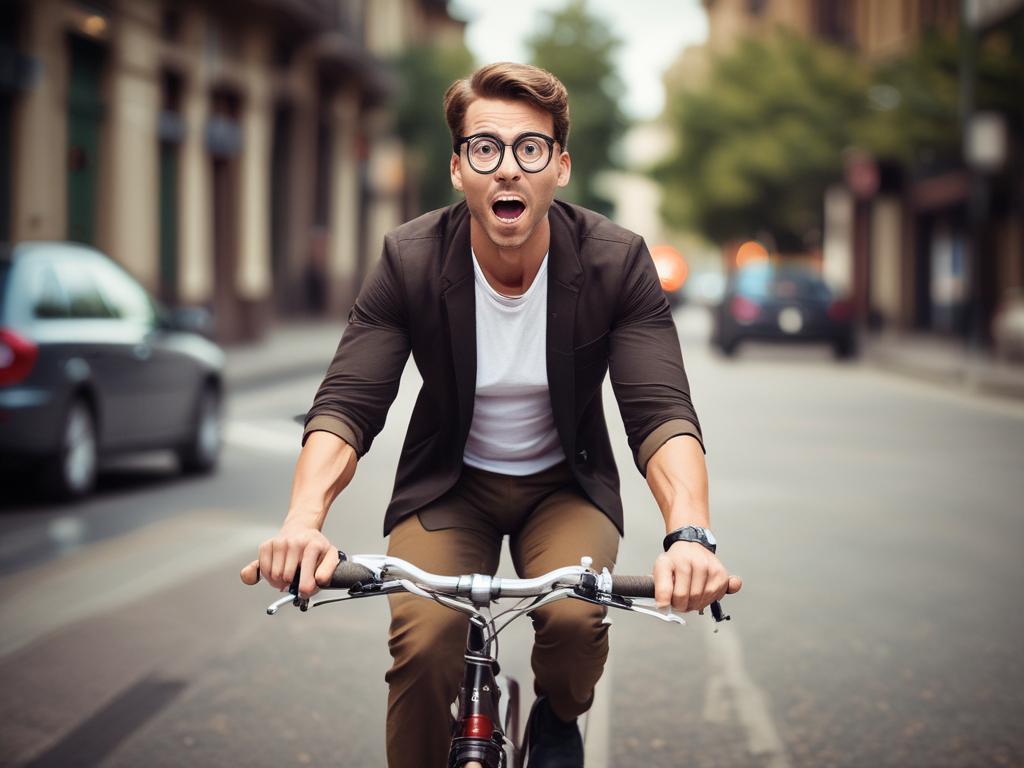
“shocked surprised man riding a bike”, seed 5253766 | Edit
See what’s happening here? Look at the eyes and mouths. Because my prompt is short, it’s placing extreme weight on the first two words “shocked surprised”. This emotion is so extreme the model can’t fulfill my request using images it was trained on, so it’s doing its best by “imagining” or “hallucinating” how those words would manifest in the image.
You can counterbalance this by adding more specific details to compensate for the model’s lack of relevant training data (for example, by adding “wrinkled eyelids” or “straight single row of teeth”), but that will totally throw off your entire image. So to counterbalance that, you can add more description of your subject toward the front of the prompt. And that’s when you start having a long prompt. Speaking of long prompts…
Long Prompts
Here’s an analogy from video games; A short prompt is like a sniper rifle; one shot is all it takes to hit your target. But it’s also easy to miss wildly. A long prompt is like a shotgun; you’ll spread out your ammunition in the general direction you’re aiming for, and you’ll probably hit your target, ie, make an image that you’re happy with.
If you Google “Stable diffusion prompts” or similar terms, you’ll get tons of ideas. Long prompts came about when AI generation tools were very slow and expensive, so you wanted to get the biggest bang for your buck and include every detail in your prompt. But with that many variables it’s hard to take a scientific approach to prompt creation, but some people have, such as “additive prompting” pioneer Nick St. Pierre. (Who is also a genuinely nice guy because I’m cool enough to have met him because my life is dope and I do dope shit.)
-
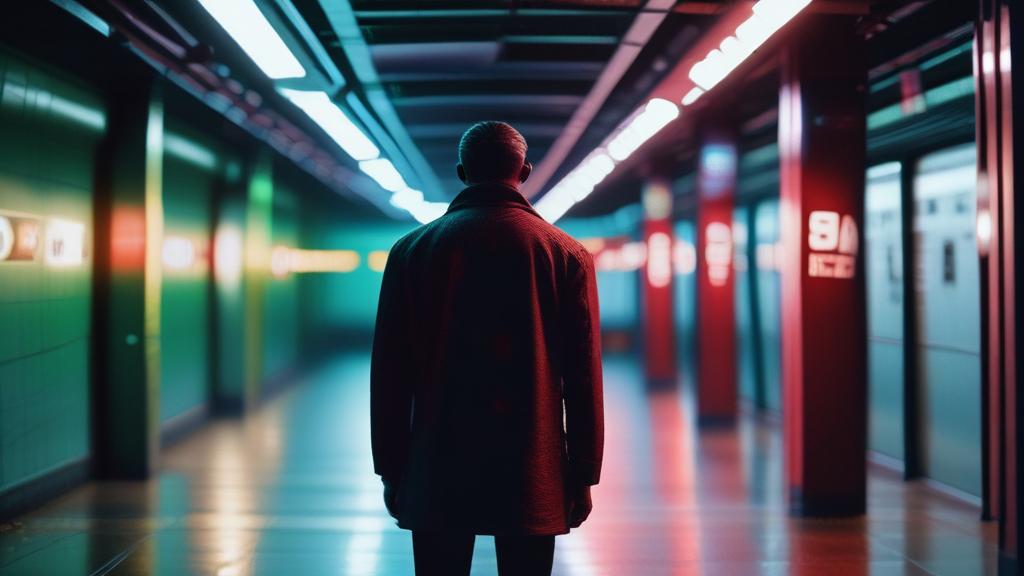
“film still of a person standing alone in a subway station, bright fluorescent light, signs, faintly visible in the periphery, suggesting an urban narrative of isolation amidst the city’s rush, dramatic high-contrast cinematic cyberpunk lighting with bright red neon, green accents, bokeh”, seed 528317 | Edit
Style hacks
The trick with style hacks is finding words or phrases that influence the style of your image, but not the subject. This is especially helpful with short prompts where brevity matters.

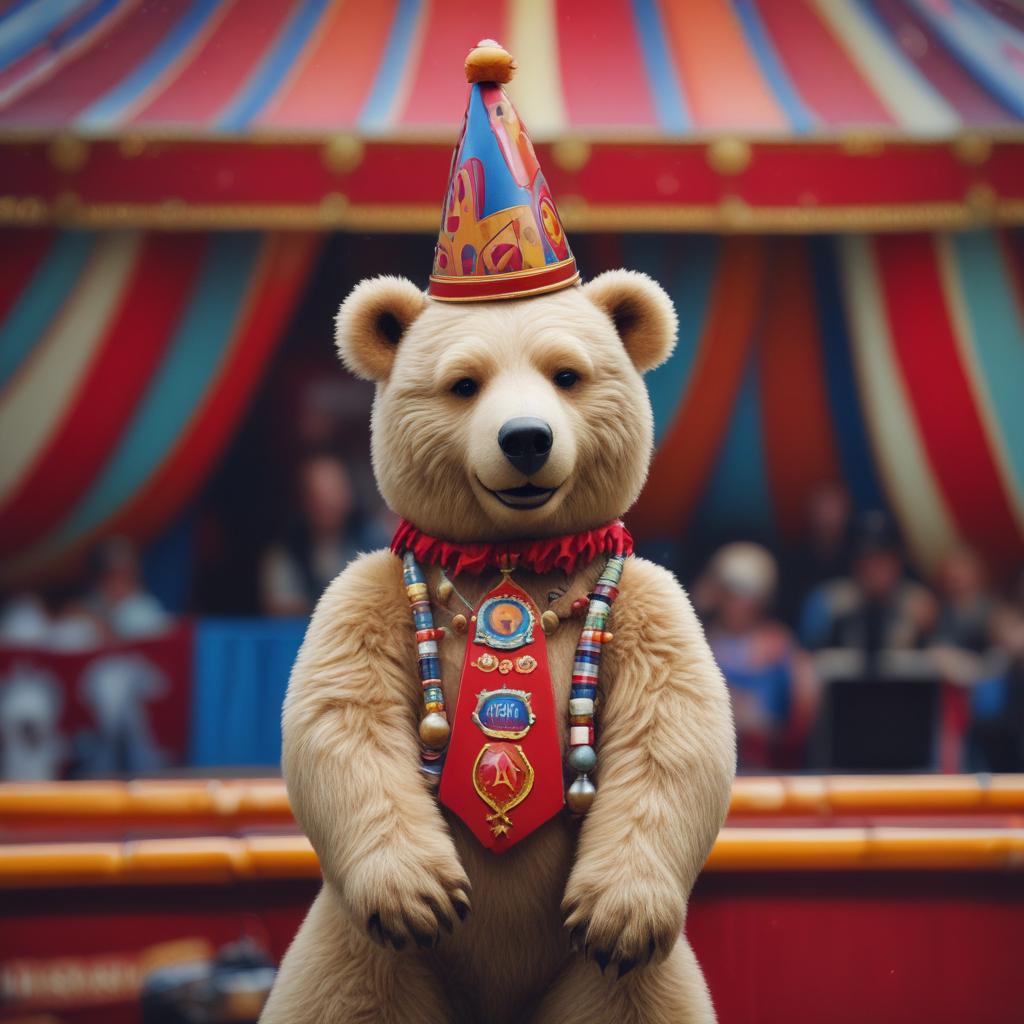
Hi circus bear. I want you to look more photorealistic. Let’s try adding that to the prompt:

“circus bear” 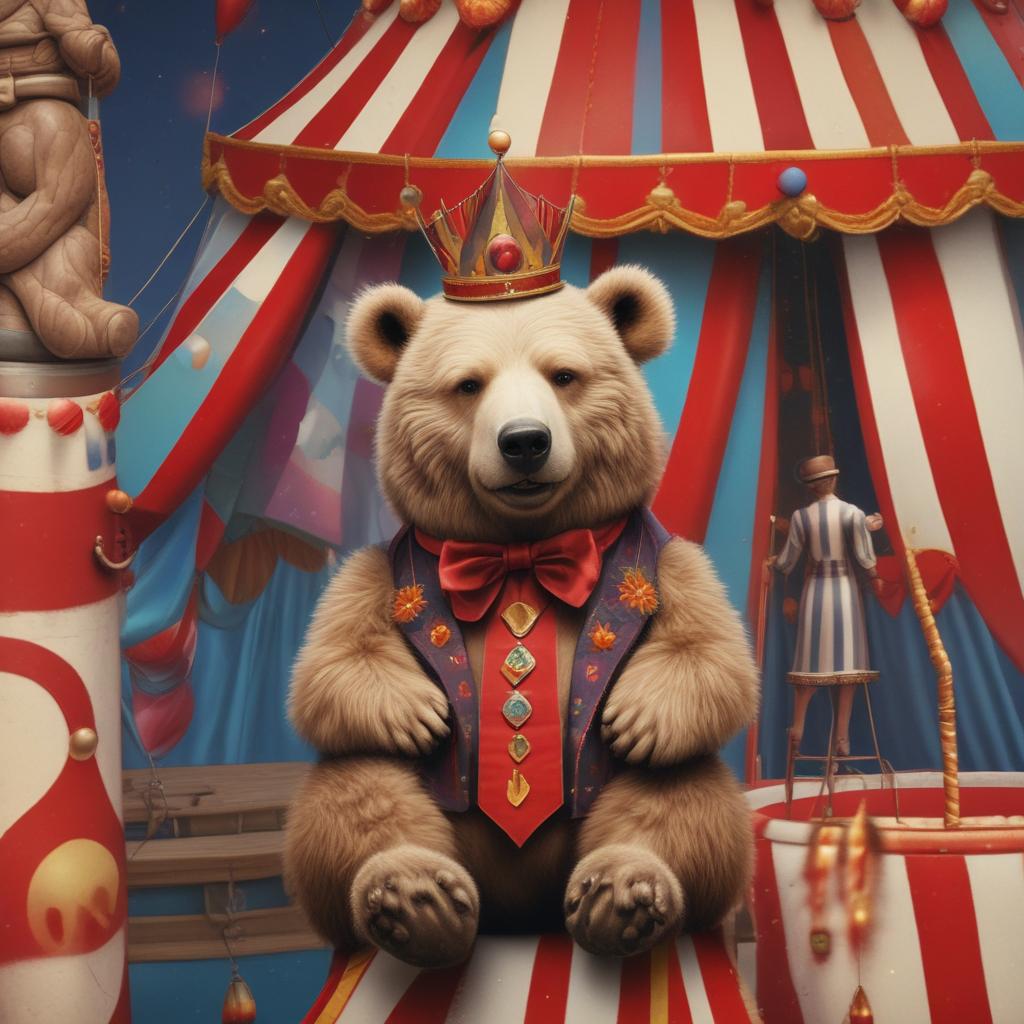
“circus bear photorealistic”
Adding “photorealistic” definitely helps, but it’s subtle. The image still looks like an illustration, or maybe a photo-illustration. But I want it to look like a real picture! So let’s try adding more detail about the type of picture…
“circus bear photorealistic photograph canon 50mm” 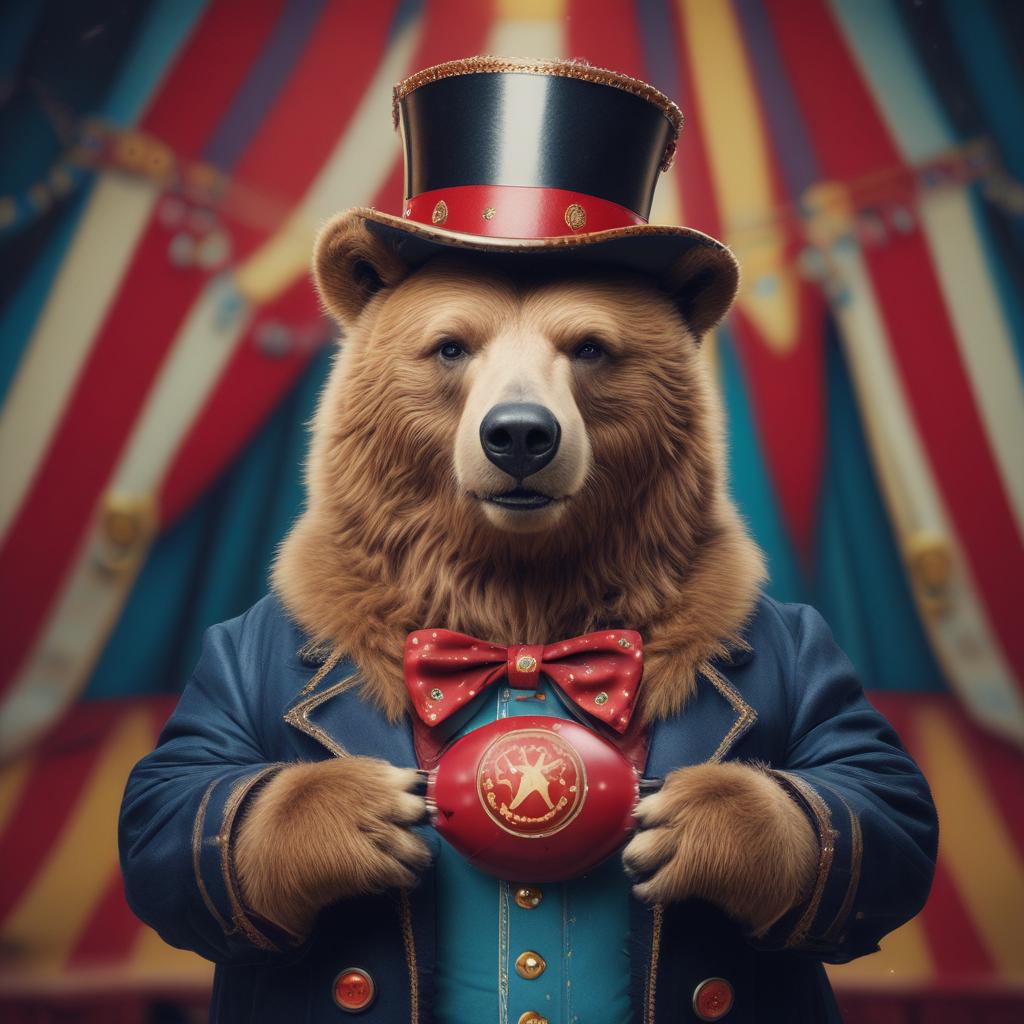
“professional portrait circus bear photorealistic photograph canon 50mm”
Here, I’m trying my best to make it look like a realistic photo by adding lots of photography terms, but it’s just cluttering up my prompt and I don’t think it looks real yet.
So for this style hack, I’m going to use a single term that only appears in captions or descriptions of real people: “candid”.
If I add “candid” instead of “photorealistic”, the style is applied to the entire photo and not just its subject. See? Much better:
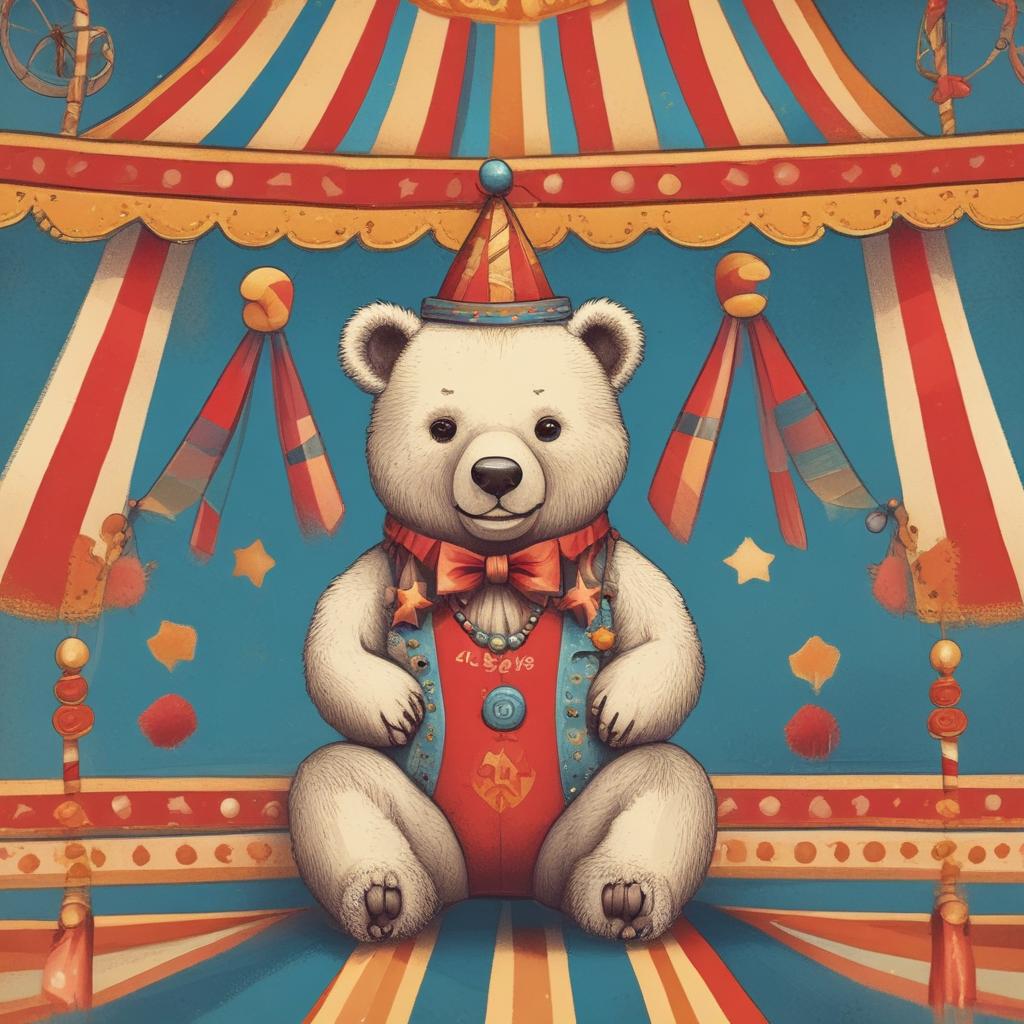
“circus bear” 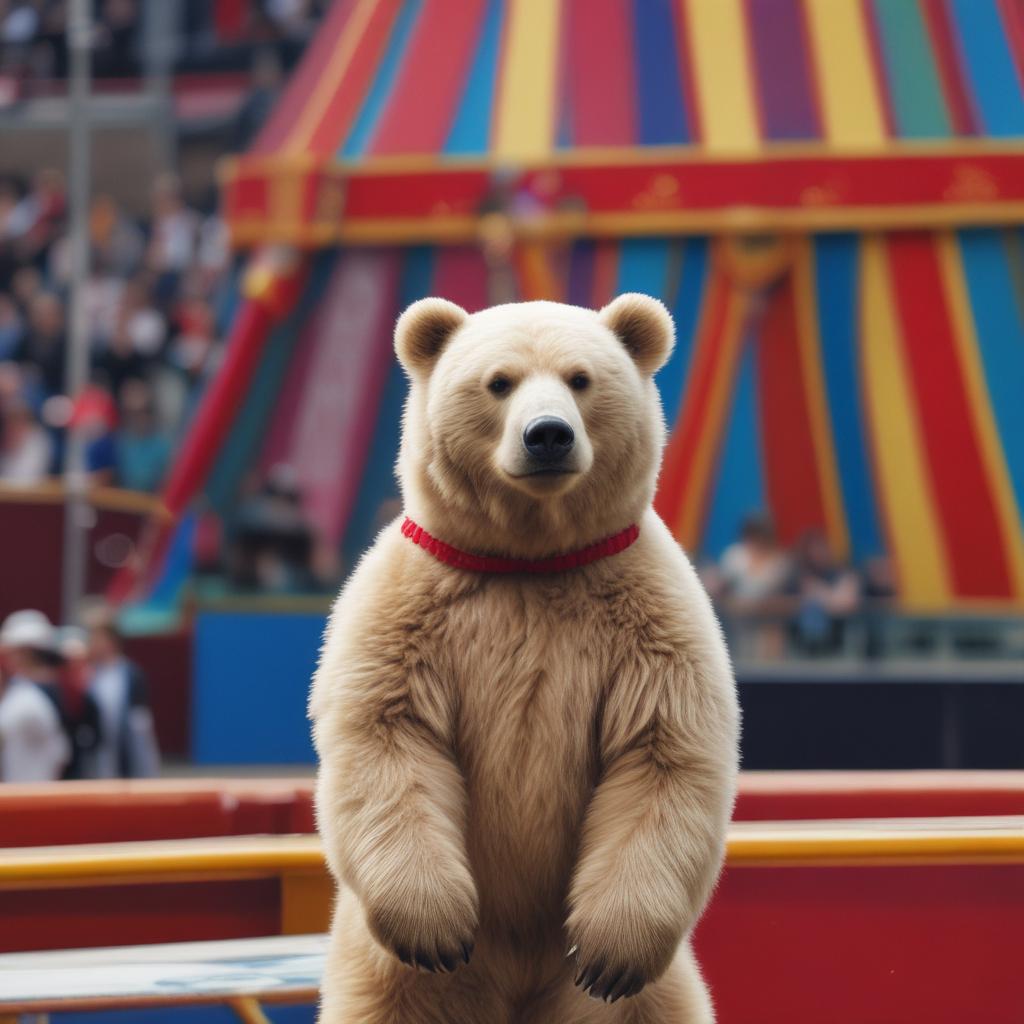
“circus bear candid”
“Candid” is a neat style hack because it’s short and adds a photorealistic vibe to almost any image. But one consideration with “candid” is that it skews toward street-style photos of humans who are centered in the frame. So if you’re happy with that, great. If not, there are other approaches.
“Evidence photo” makes any image highly photorealistic, but also adds a slightly sinister/gritty vibe that you might not want.

“circus bear” 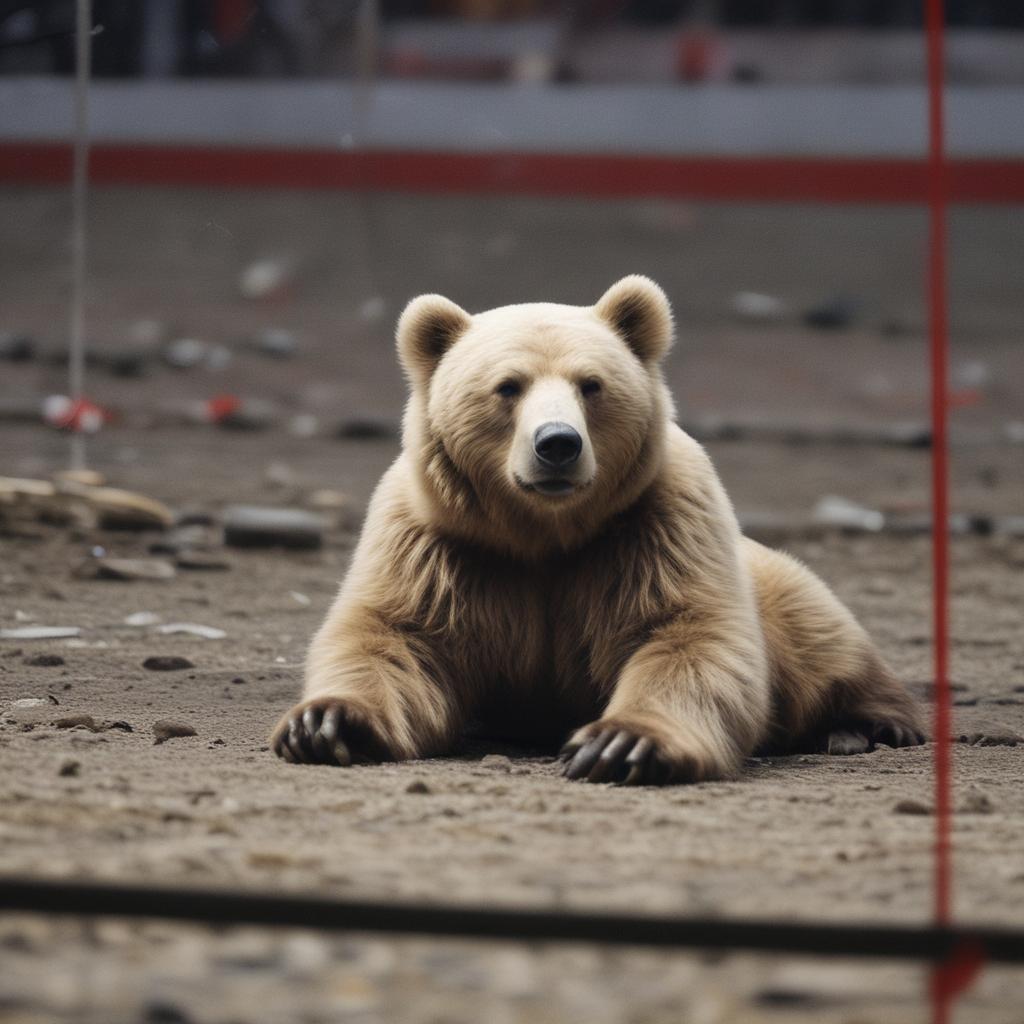
“circus bear evidence photo”
“Evidence photo” makes it photorealistic, but maybe too sinister/gritty. But luckily, you can counteract this grittiness by adding more specifics earlier in the prompt. So let’s try adding “roar” to see what happens…

“circus bear” 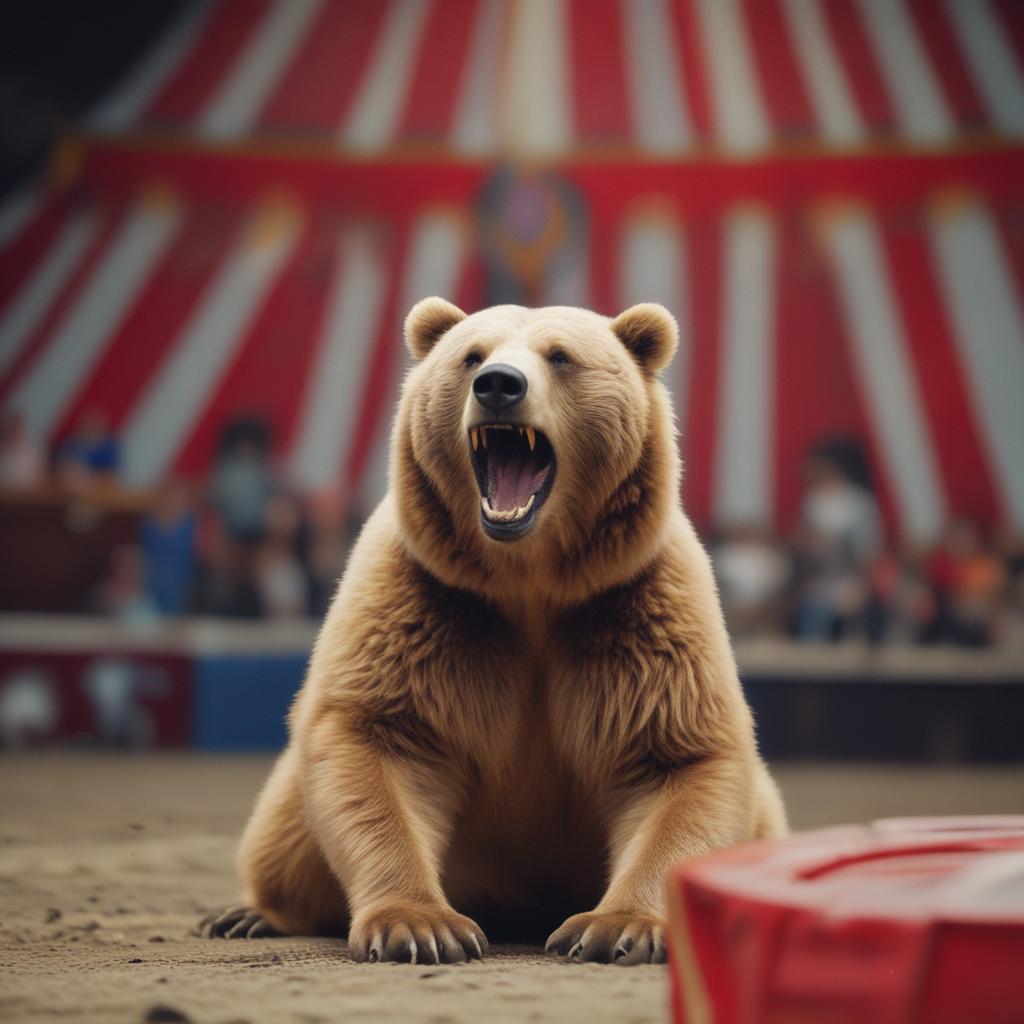
“circus bear roar evidence photo”
Pretty good! But I want the bear to look more the original circus bear. So because I know the original bear has a little hat, I could probably coax a hat onto the bear by modifying the prompt slightly…

“circus bear” 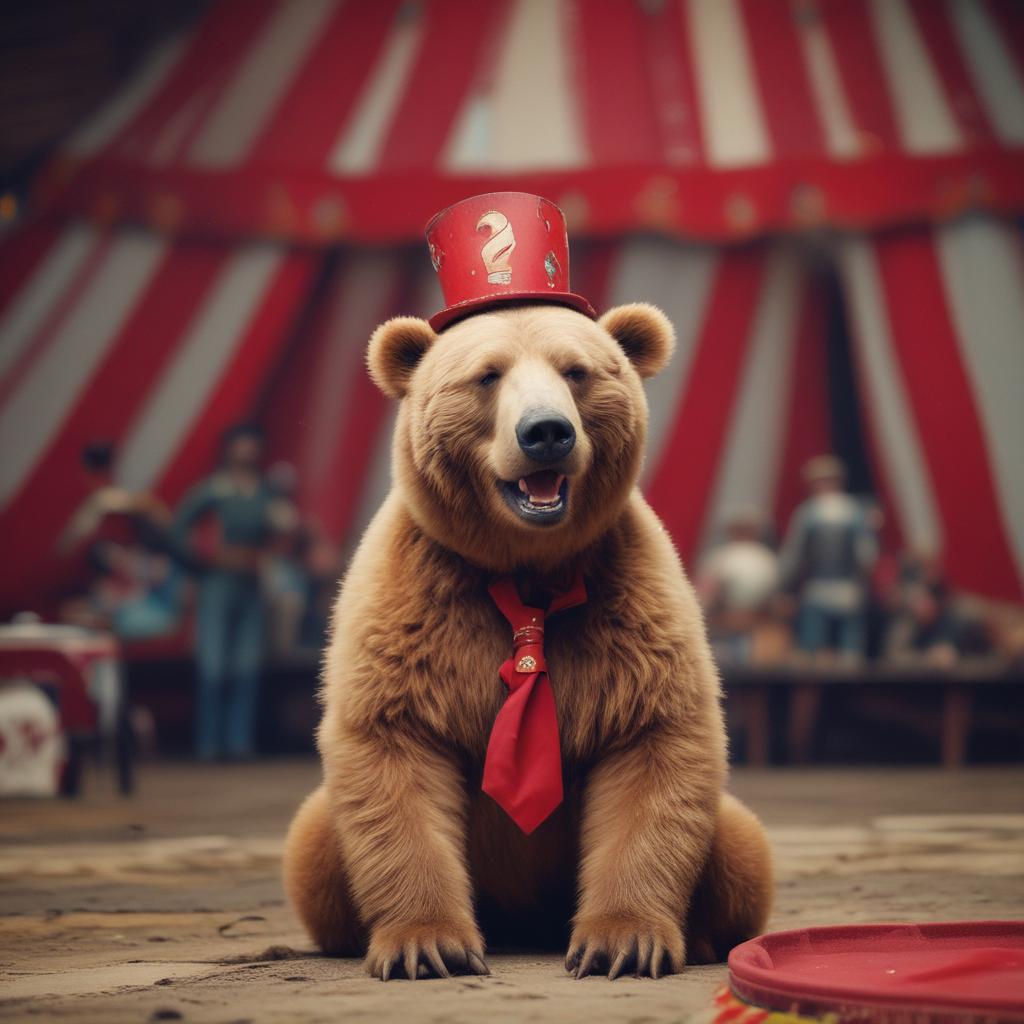
“circus bear roar red hat evidence photo”
And it worked! (It even added that stupid little tie which I didn’t ask for, but I’ll take it!)
Conclusion
So that’s the crash course in generating photorealistic AI images. There’s no other magic happening here related to deeper meanings or alternate interpretations of the words. The result images are simply references to bitmaps that get smooshed together. Prompts are formulas disguised as sentences.
I feel like this is a good place to pause, even though we only scratched the surface. I’d love to hear what you discover with AI image generation using Rabbithole, so let me know if you learn anything interesting and I can update this post or make another in a series.
If you have any Rabbithole questions, feature requests, or bug reports, I’m monitoring splashingio.rabbithole@gmail.com. Feedback is a gift.
And special thanks again to Nick St Pierre whose work and advice helped inspire this post.